Creating an academic website on GitHub
Published:
Learn how to create a website to showcase your academic achievements! This tutorial will walk you through setting up an academic website on GitHub. You can add publications, blog posts, and a CV to your website to share with people as you network! We will get some more practice with the terminal by interacting with the Git command line interface (CLI).
Preparation (reviewed in previous workshop)
Fork the Academic Pages repo.

Rename the repo to your GitHub username:

Click on the green “Code” button and copy the link to clone your own repo.

On your terminal, run:
git clone <insert link here>
About page
Open your integrated development environment (IDE) and open up the directory containing your cloned repo.
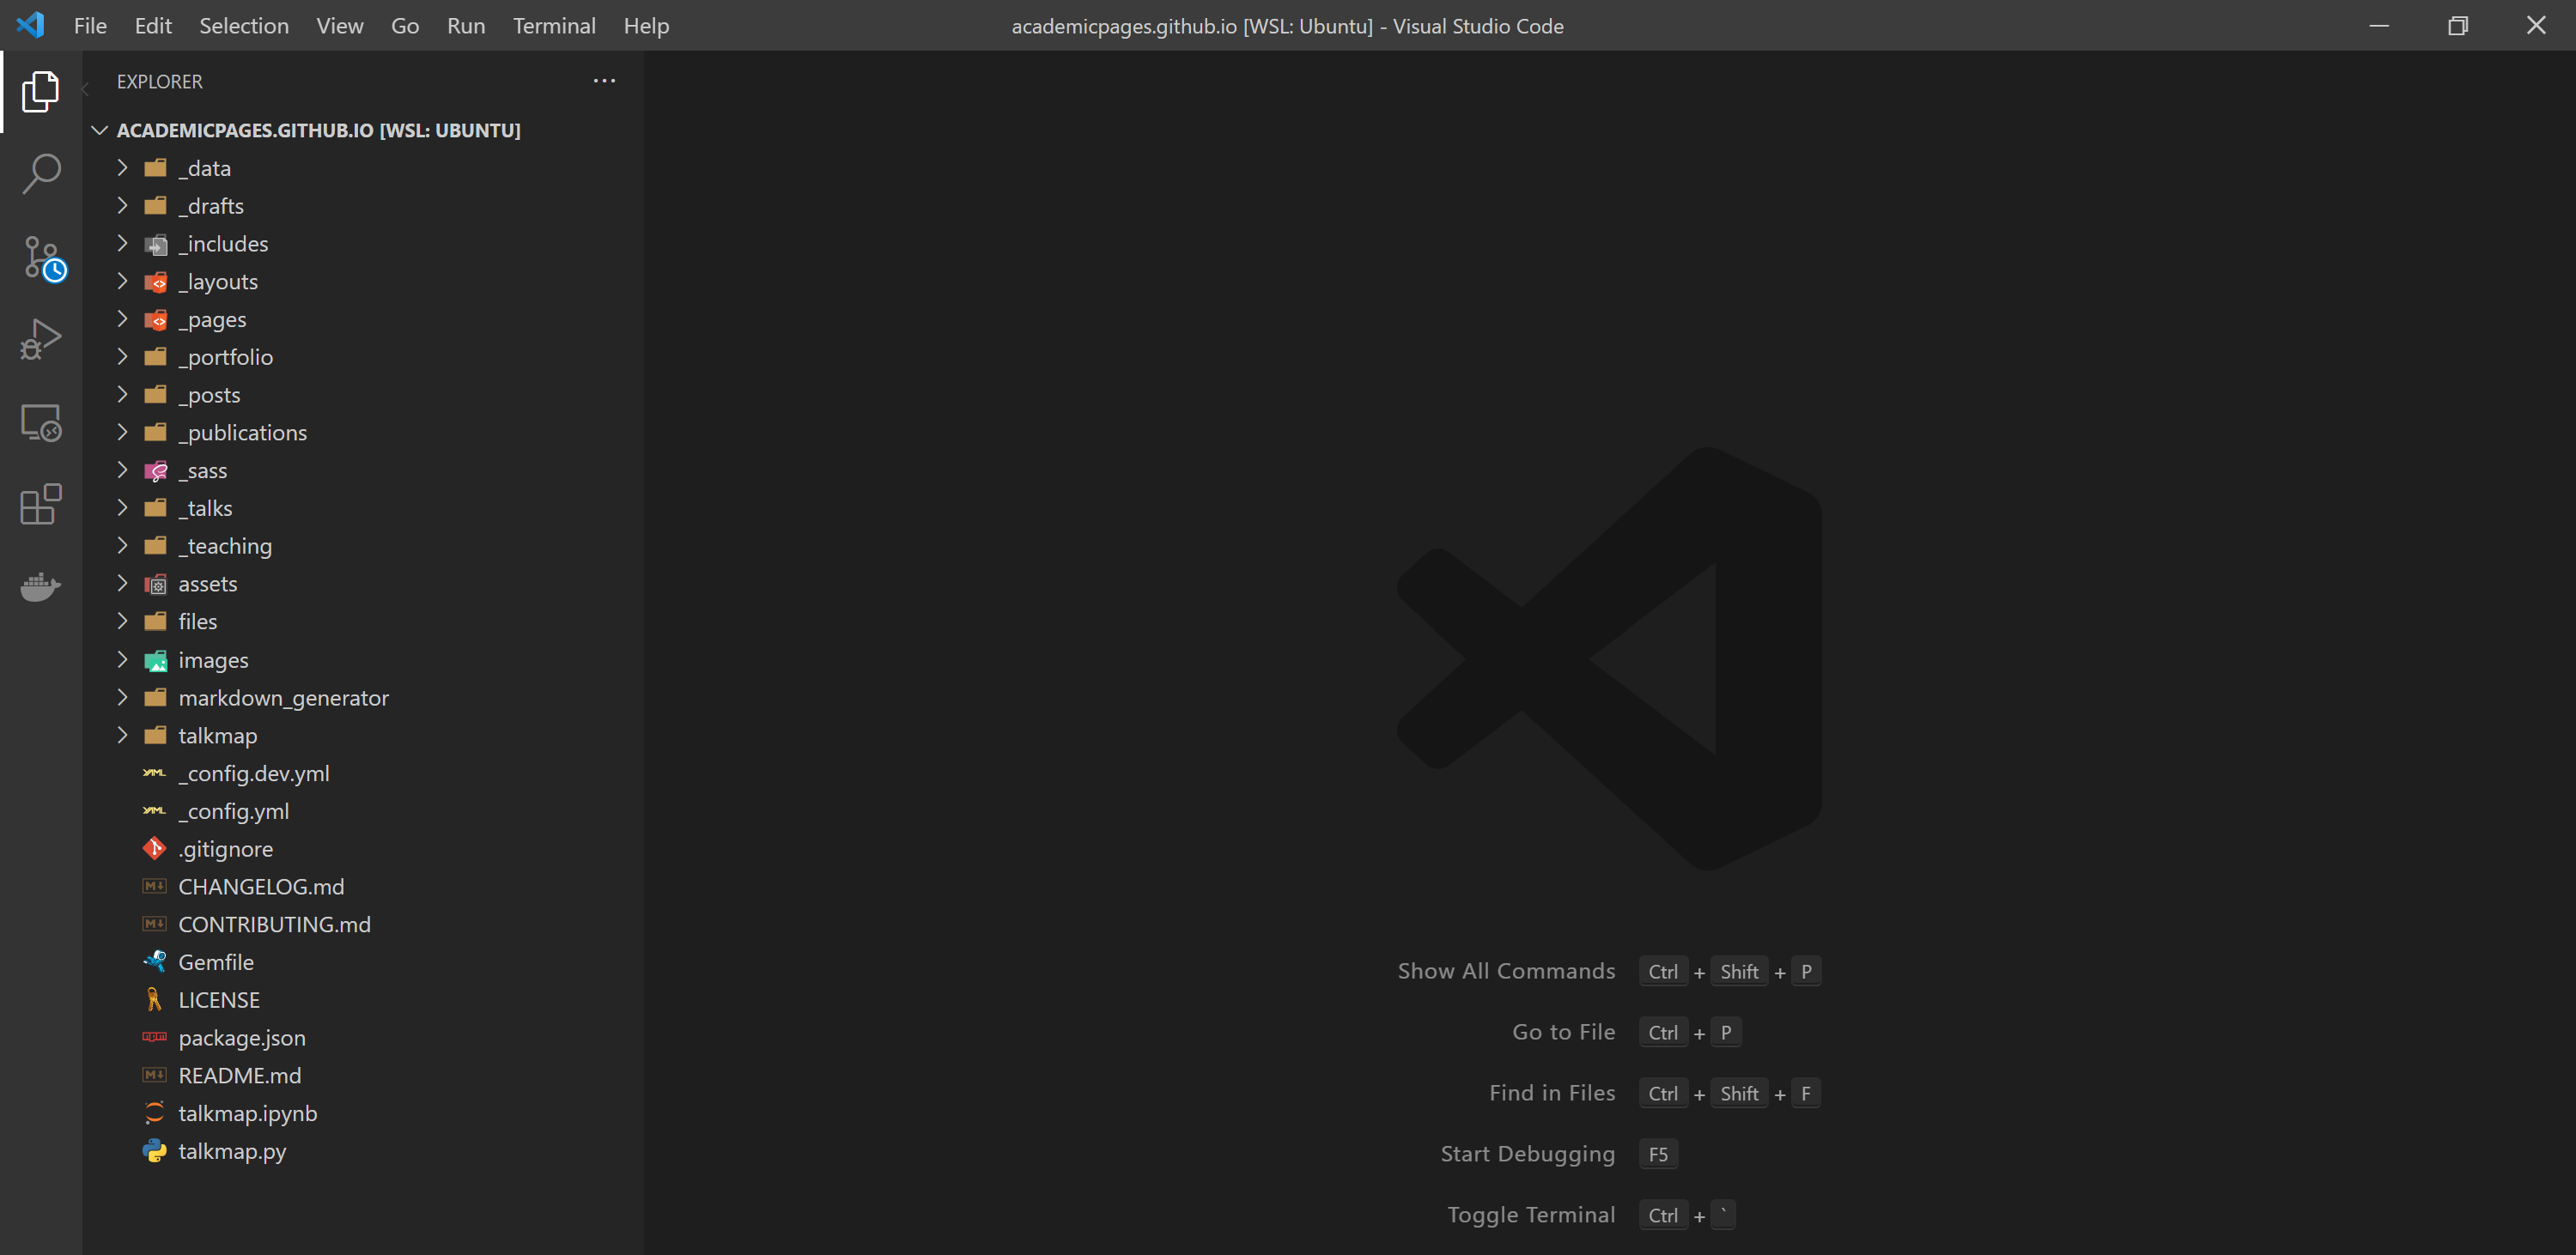
Open the
_pagesdirectory and click on theabout.mdfile.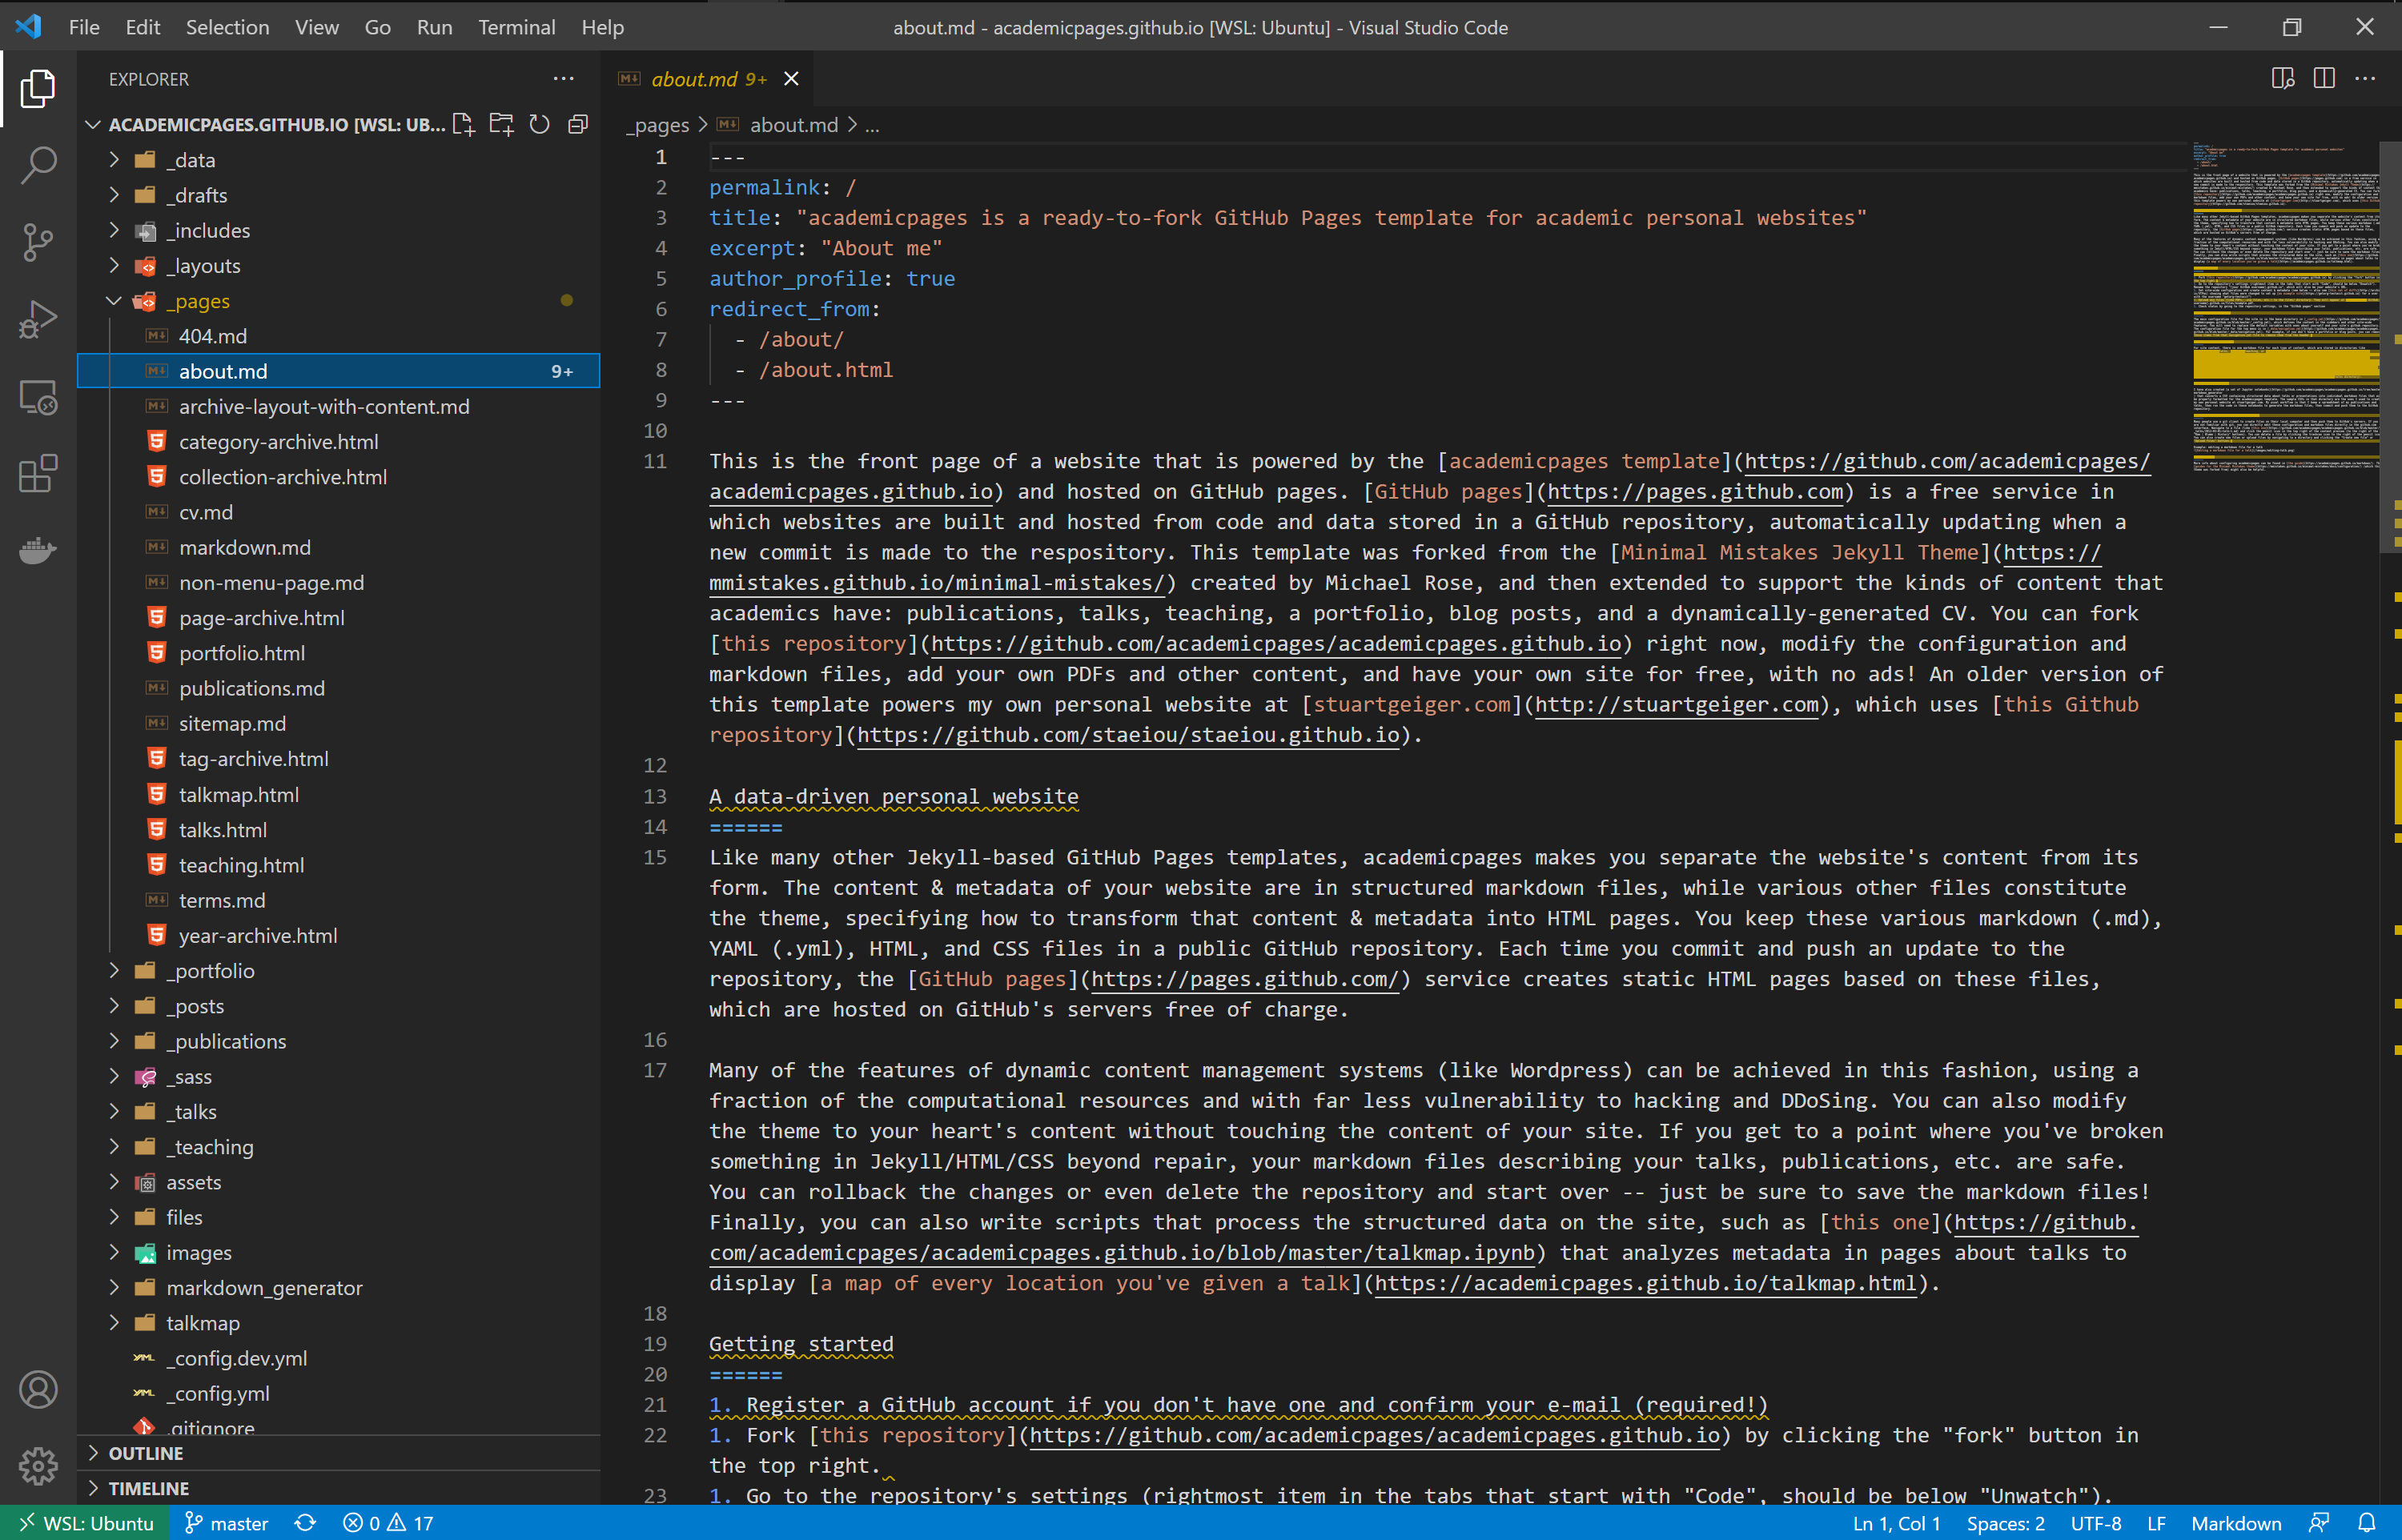
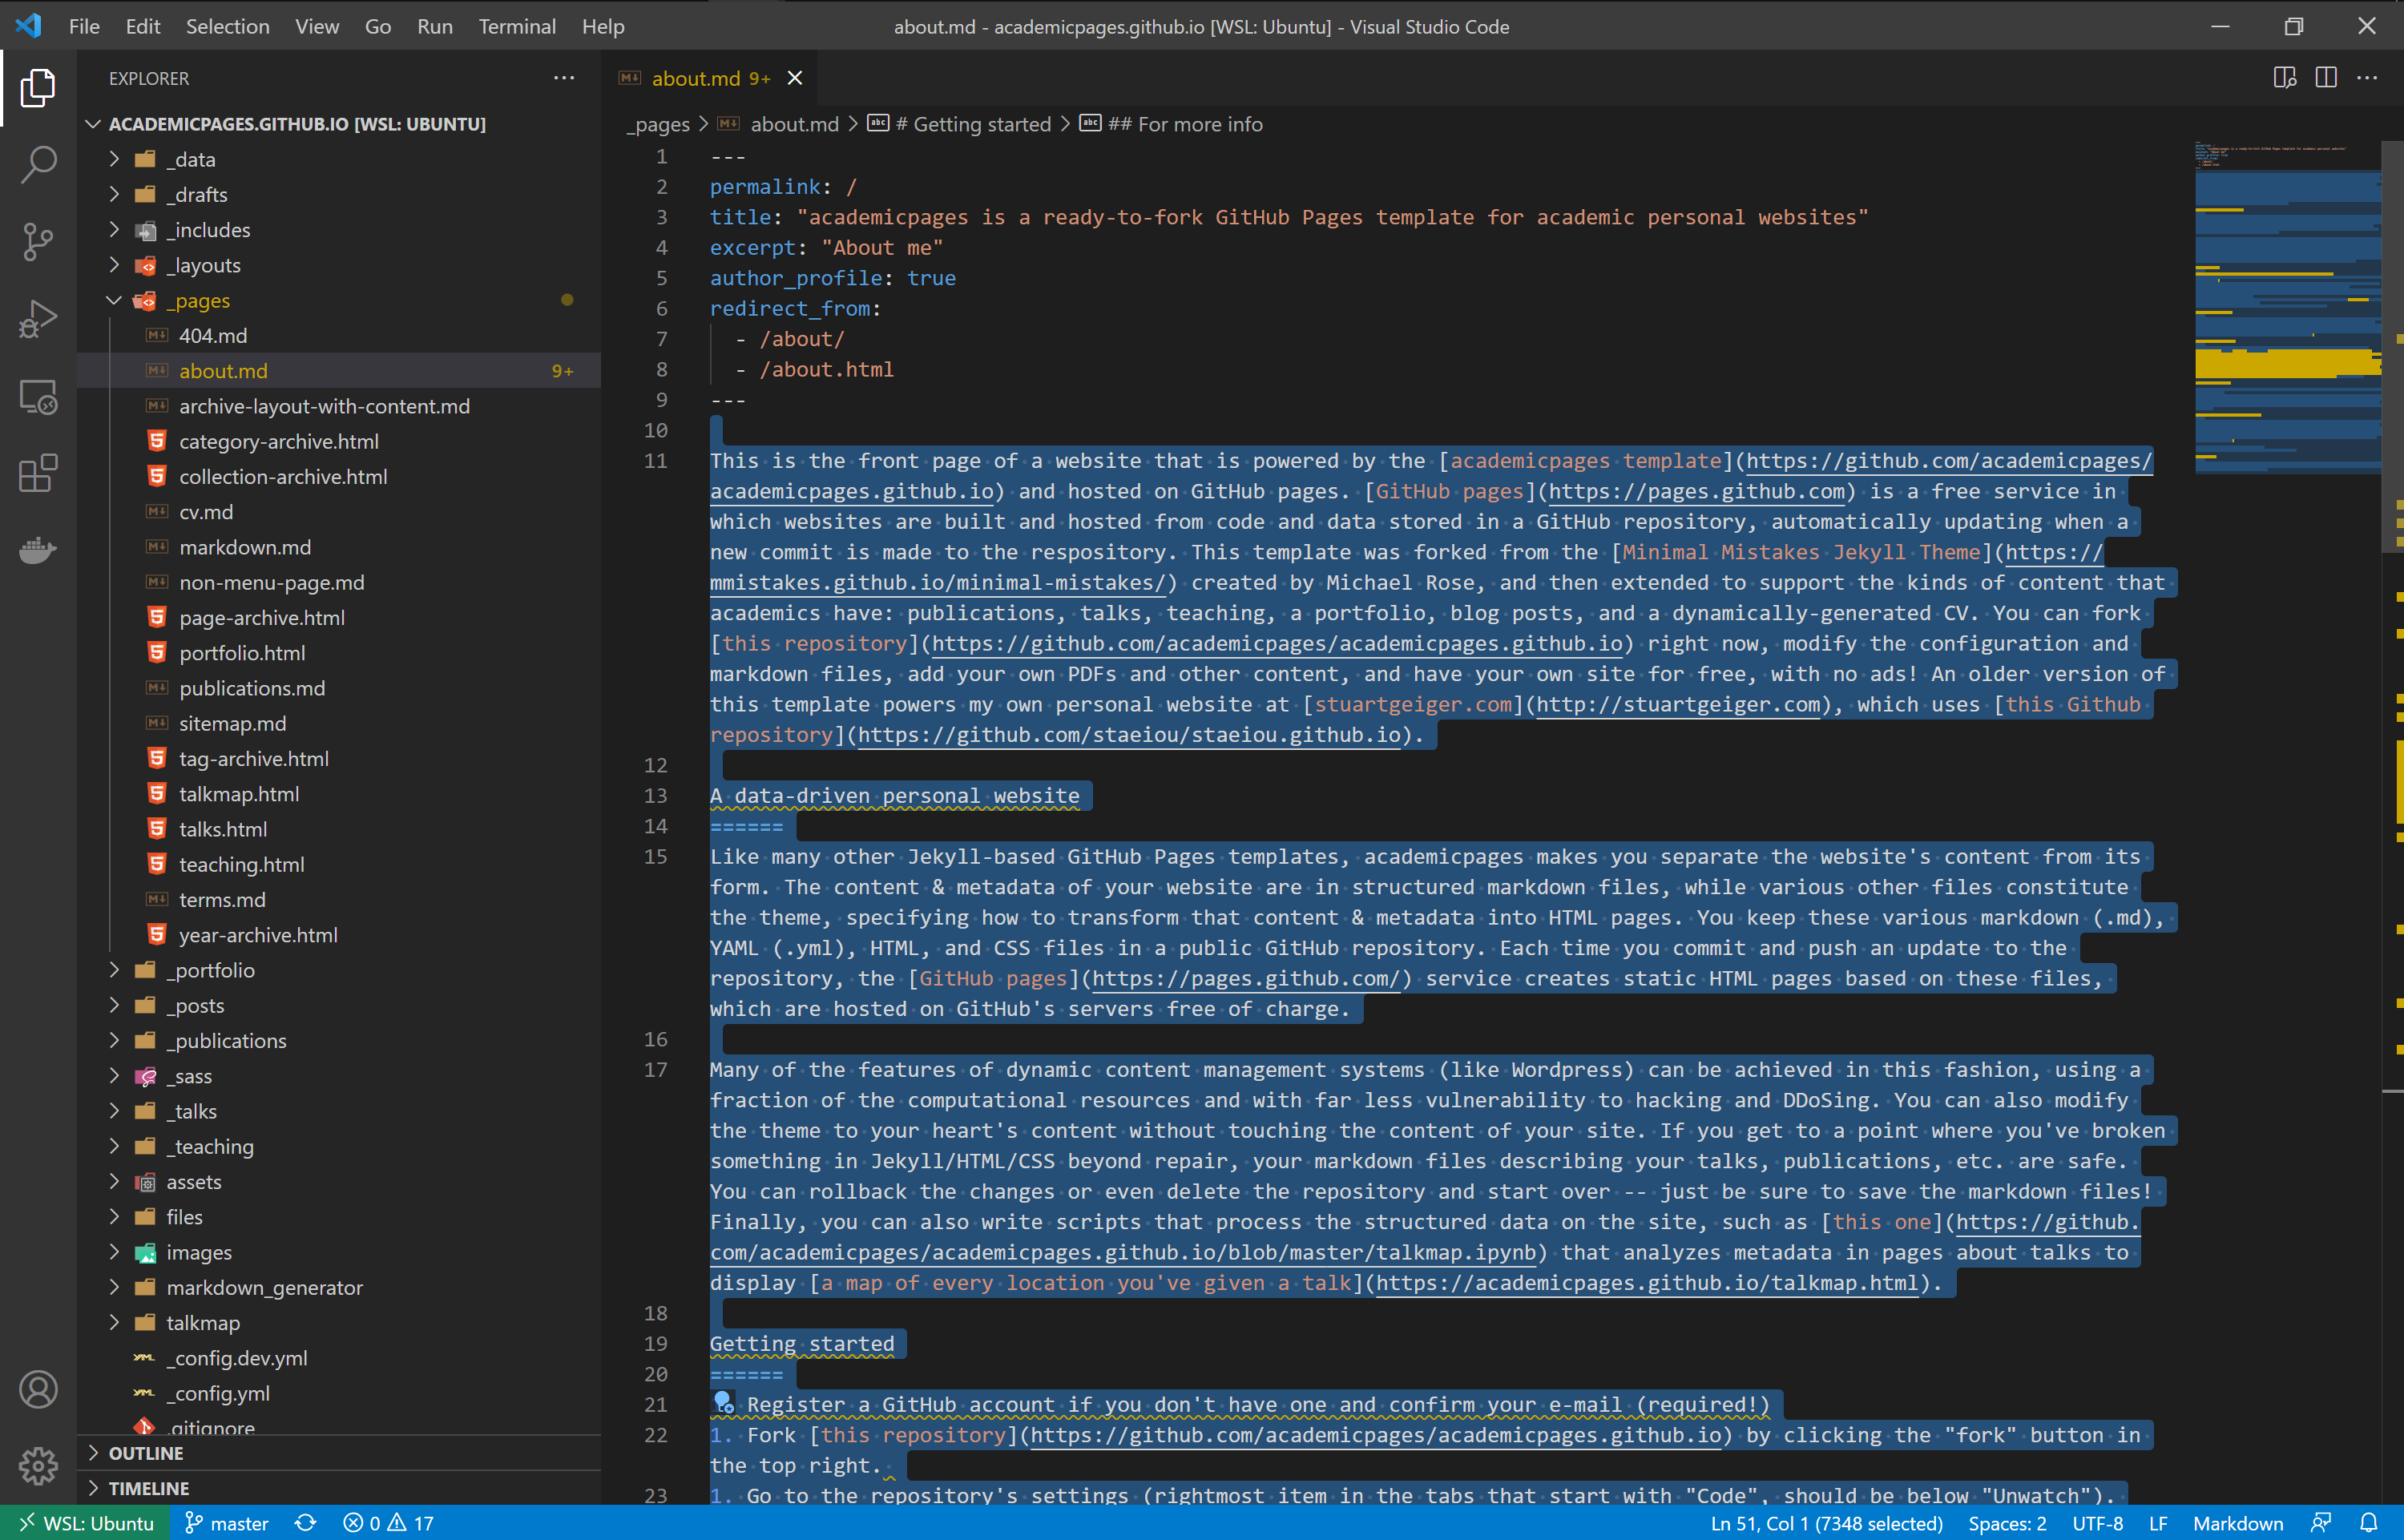
Remove all the text under line 9 (highligthed in blue).
Edit the header information (title, excerpt)
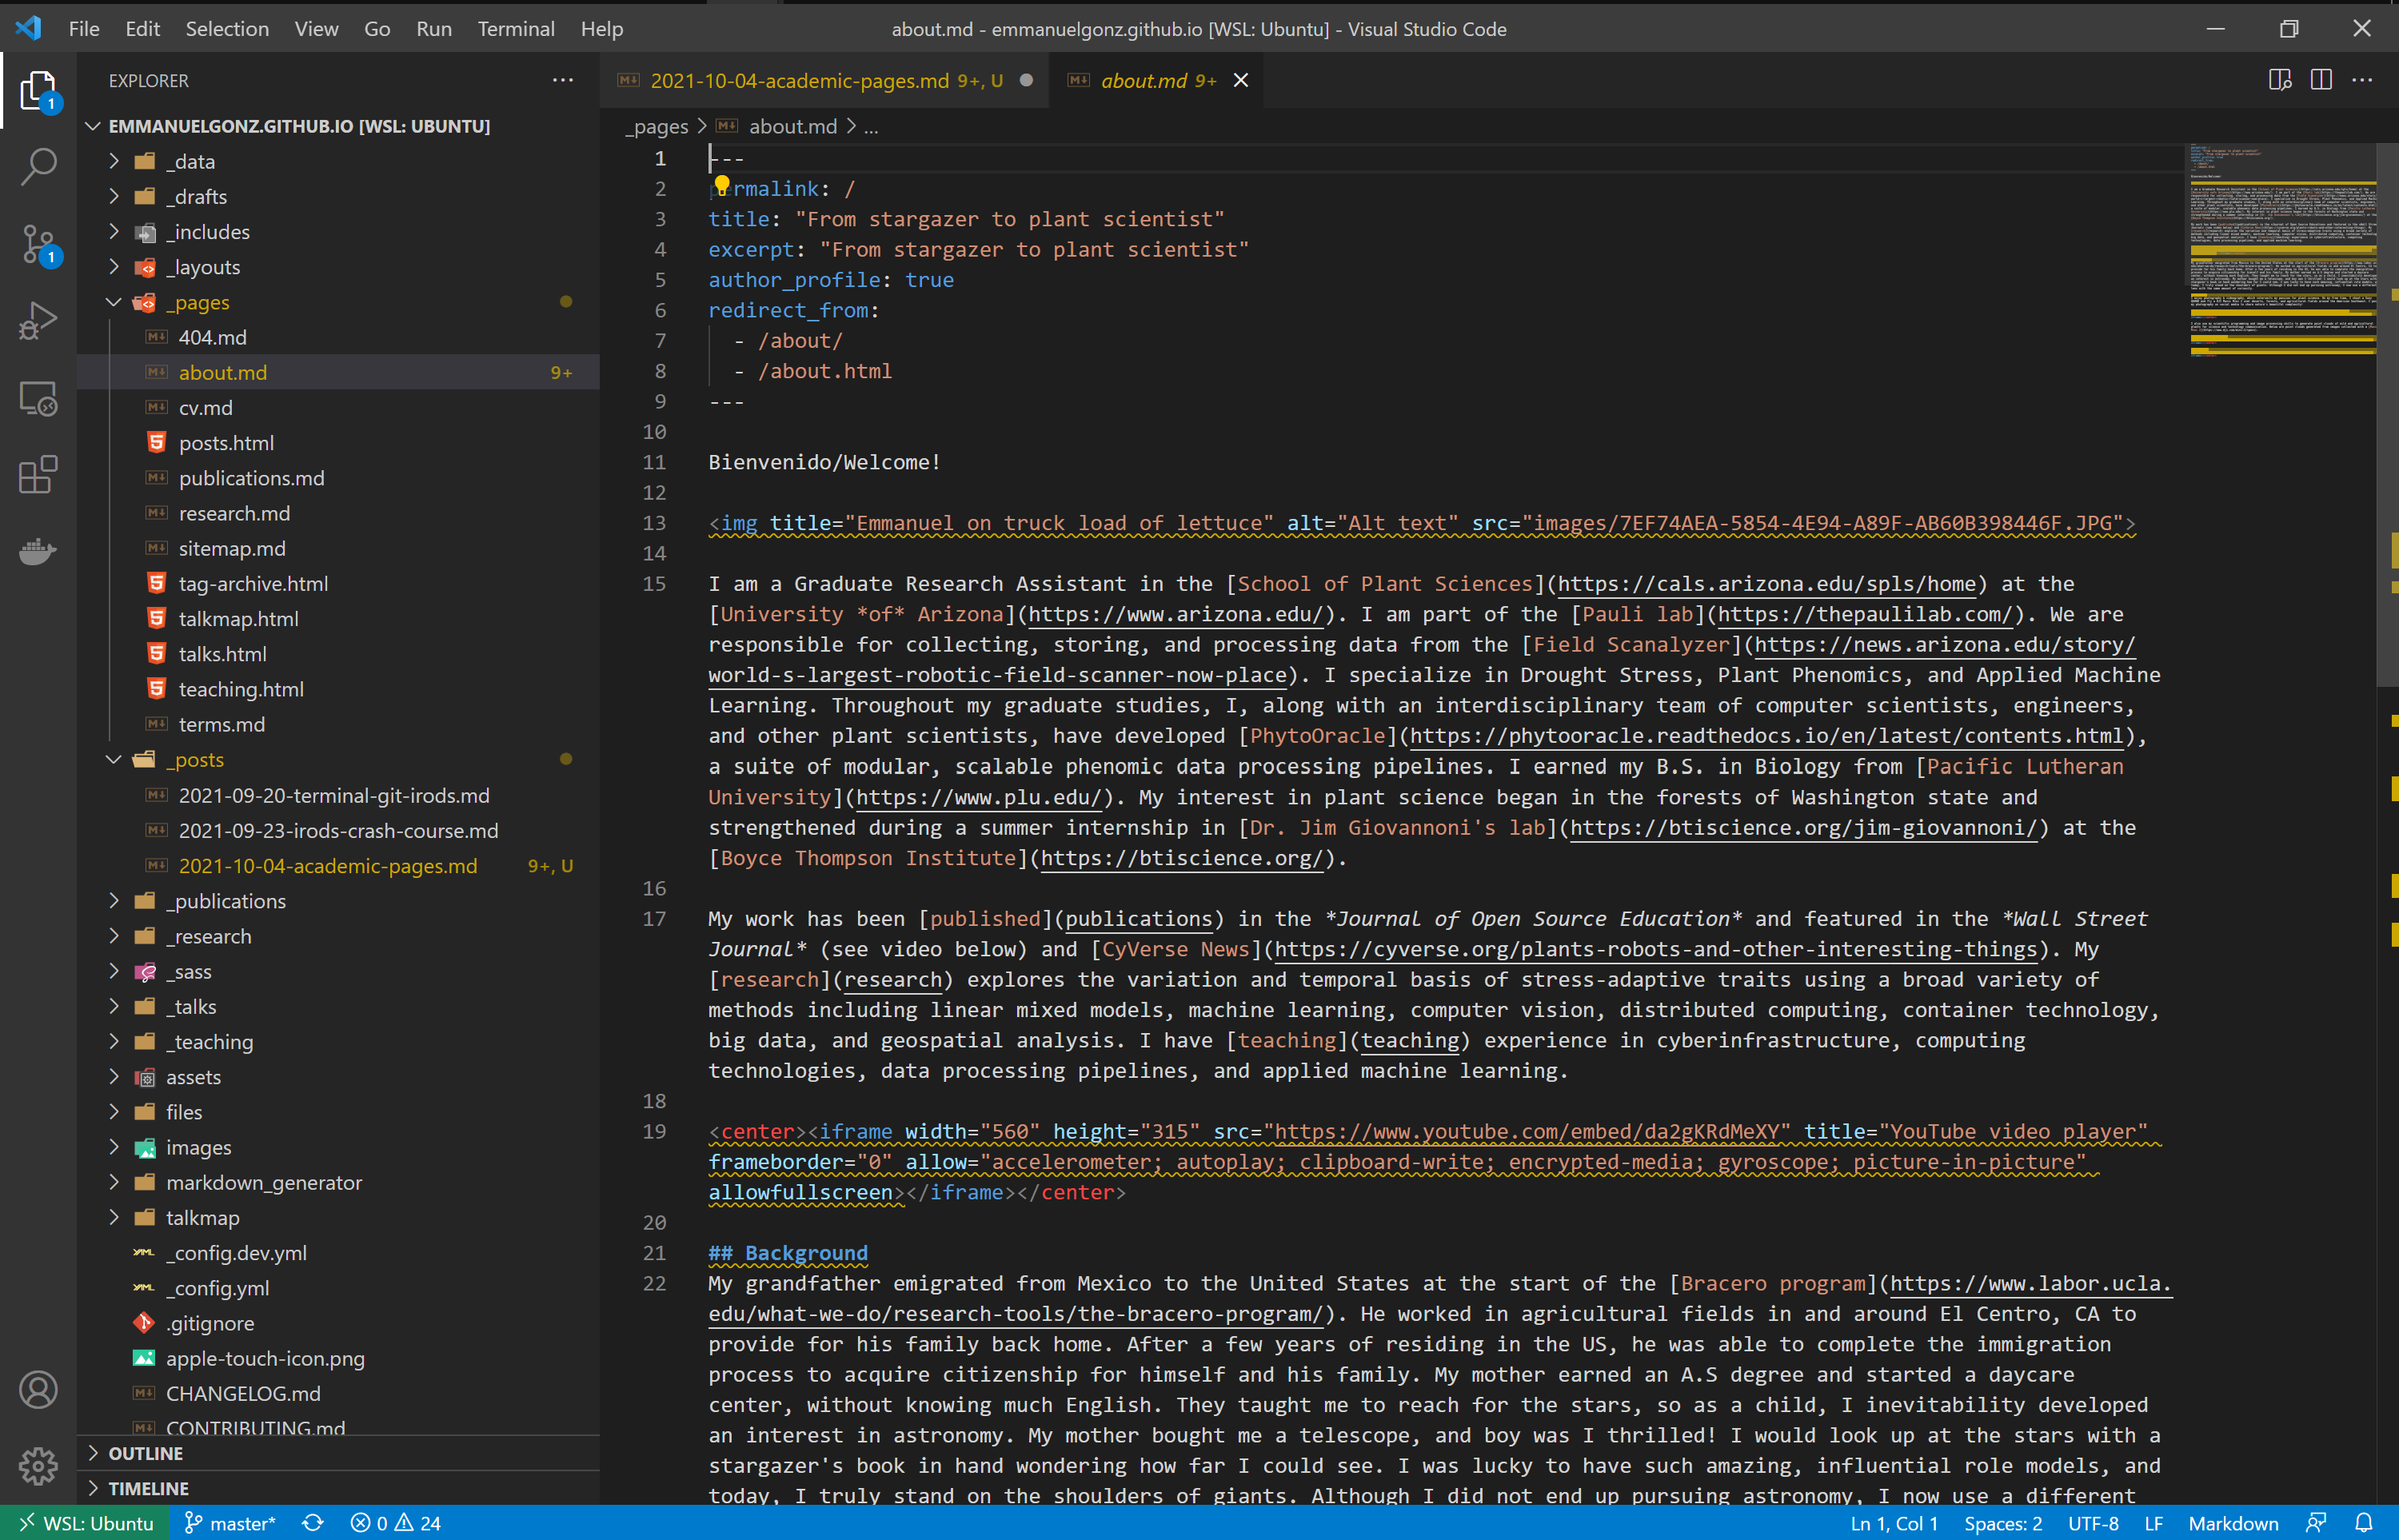
You can add an image by placing it in the
imagesdirectory. Use the following code to include it in your page:<img title="<fill in with caption title>" alt="Alt text" src="images/<fill in with image name>">Add, commit, and push your changes:
git add *git commit -m 'changes to about me'git push originNow, navigate to your website, which is accessible at
<GitHub username>.github.io
Publications page
Open the
_publicationsdirectory and click on the2009-10-01-paper-title-number-1.mdfile.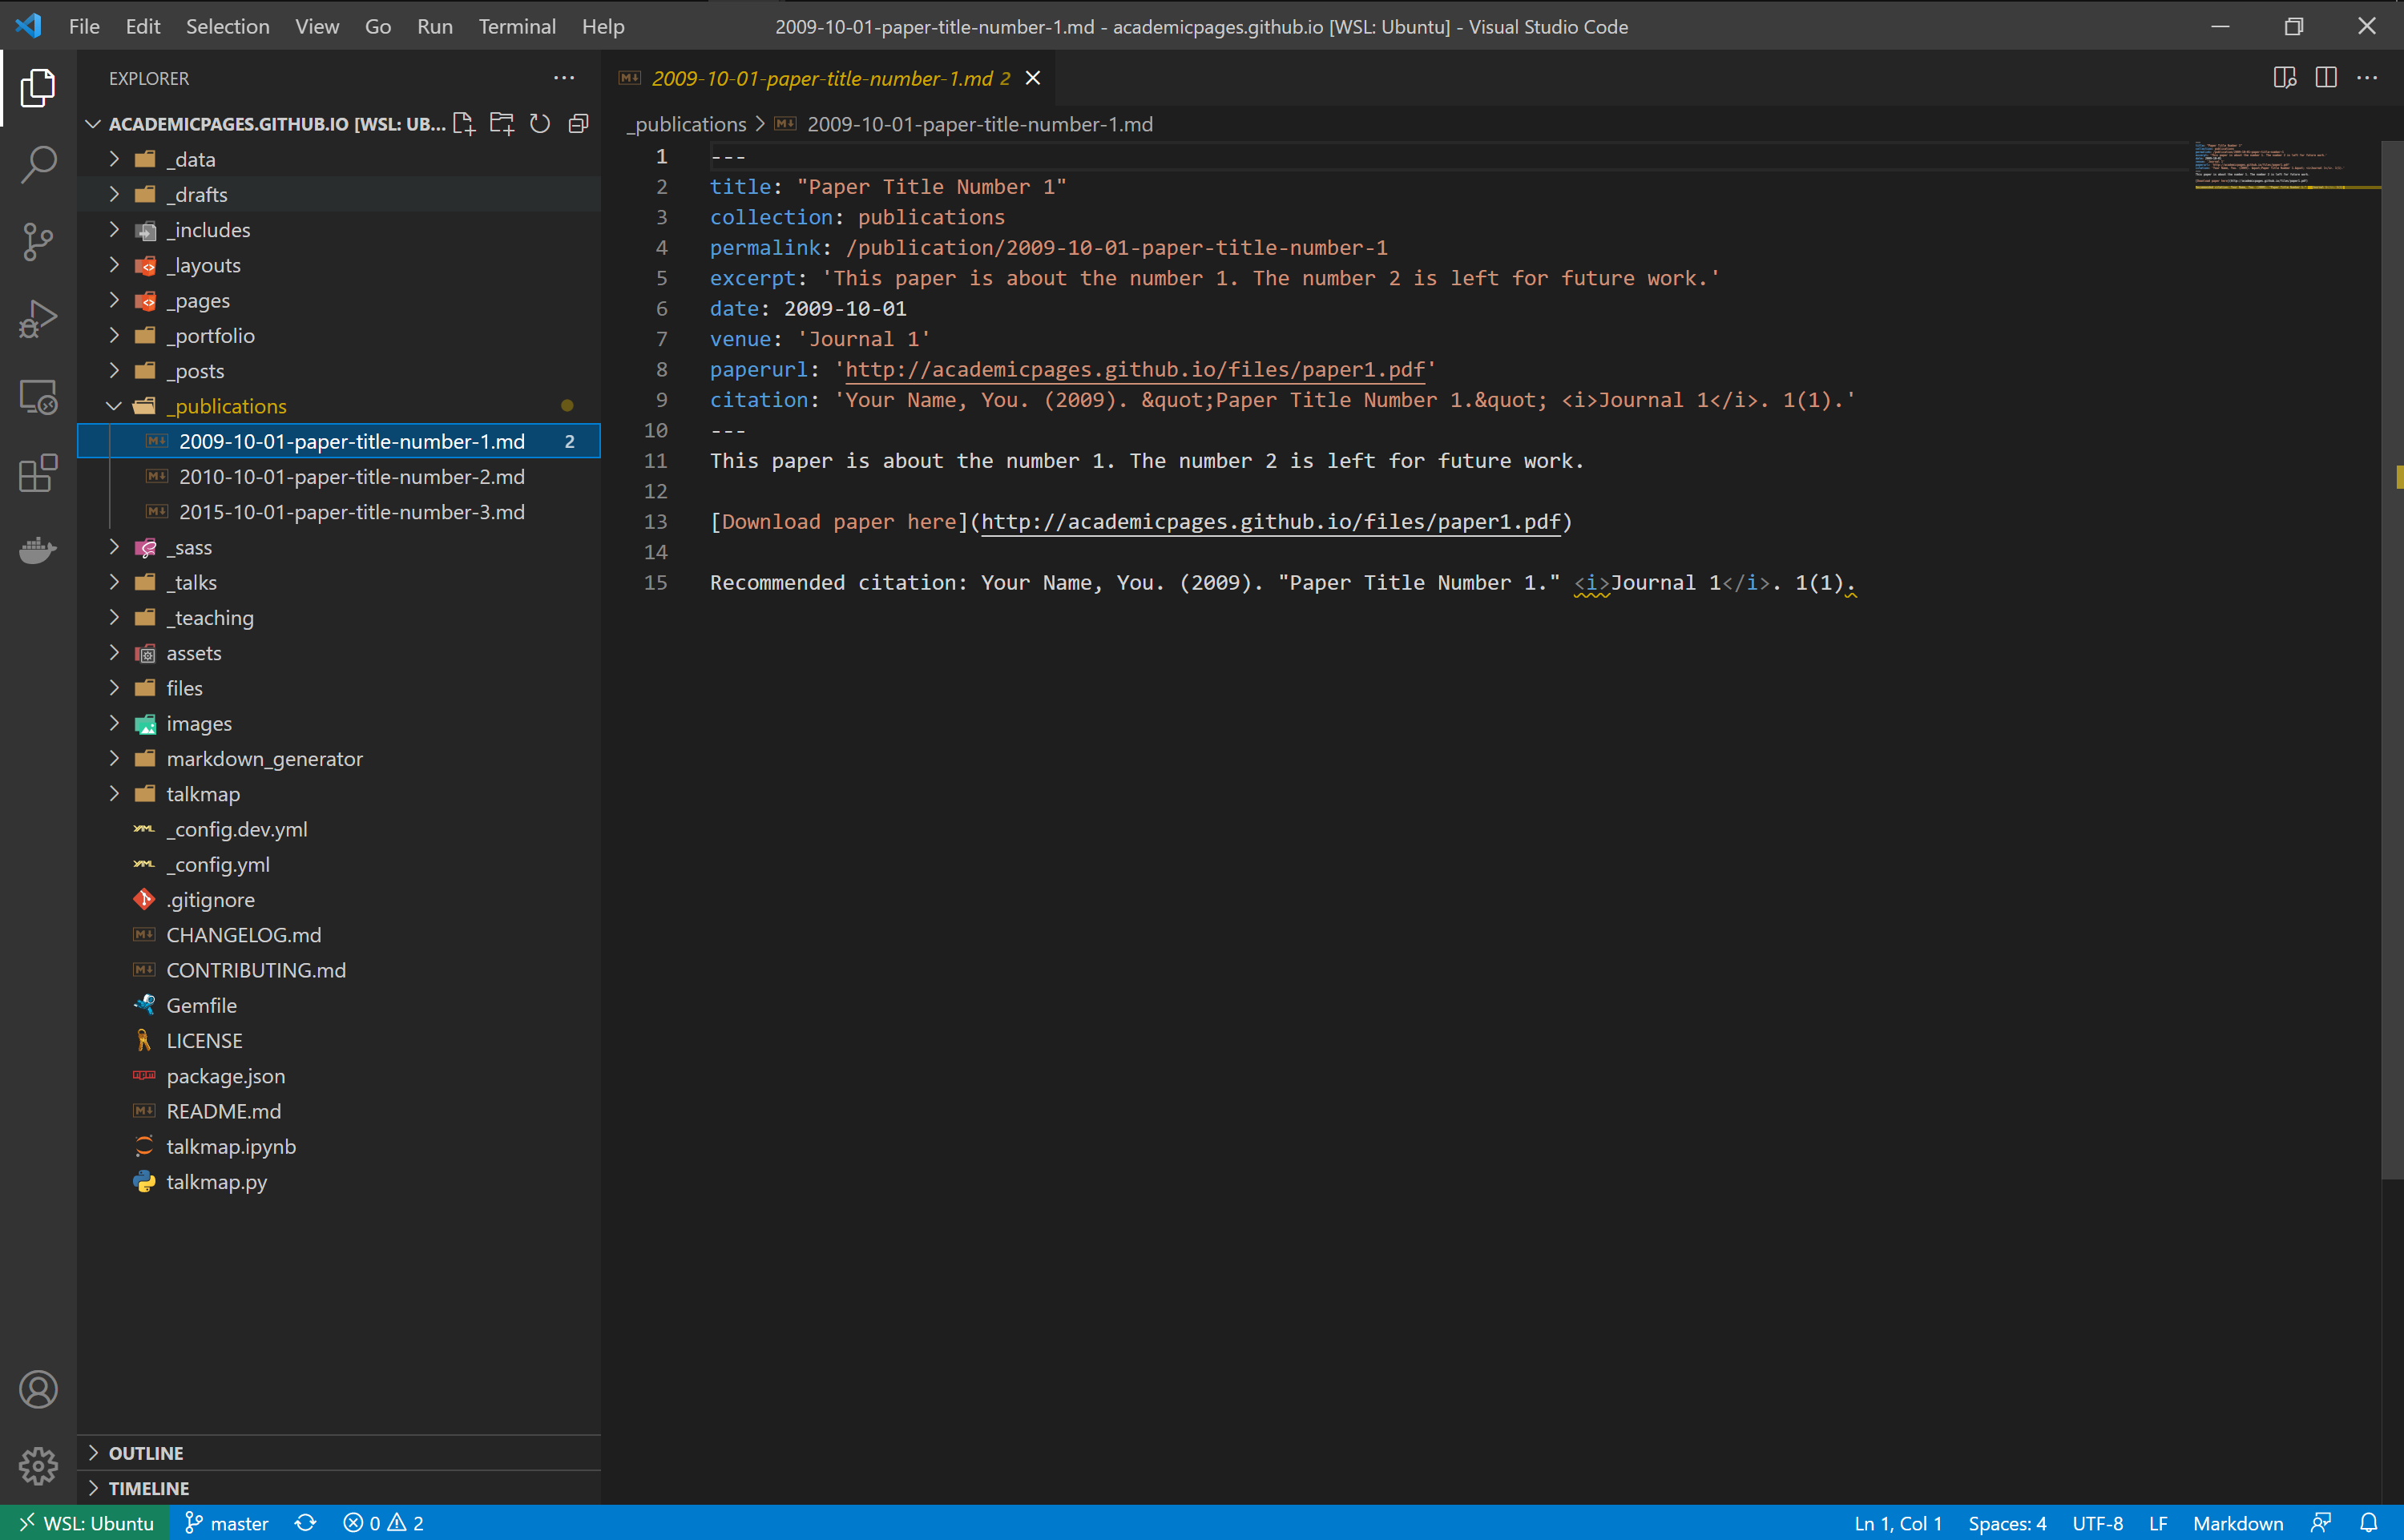
Edit the title, permalink, etc. Example below:
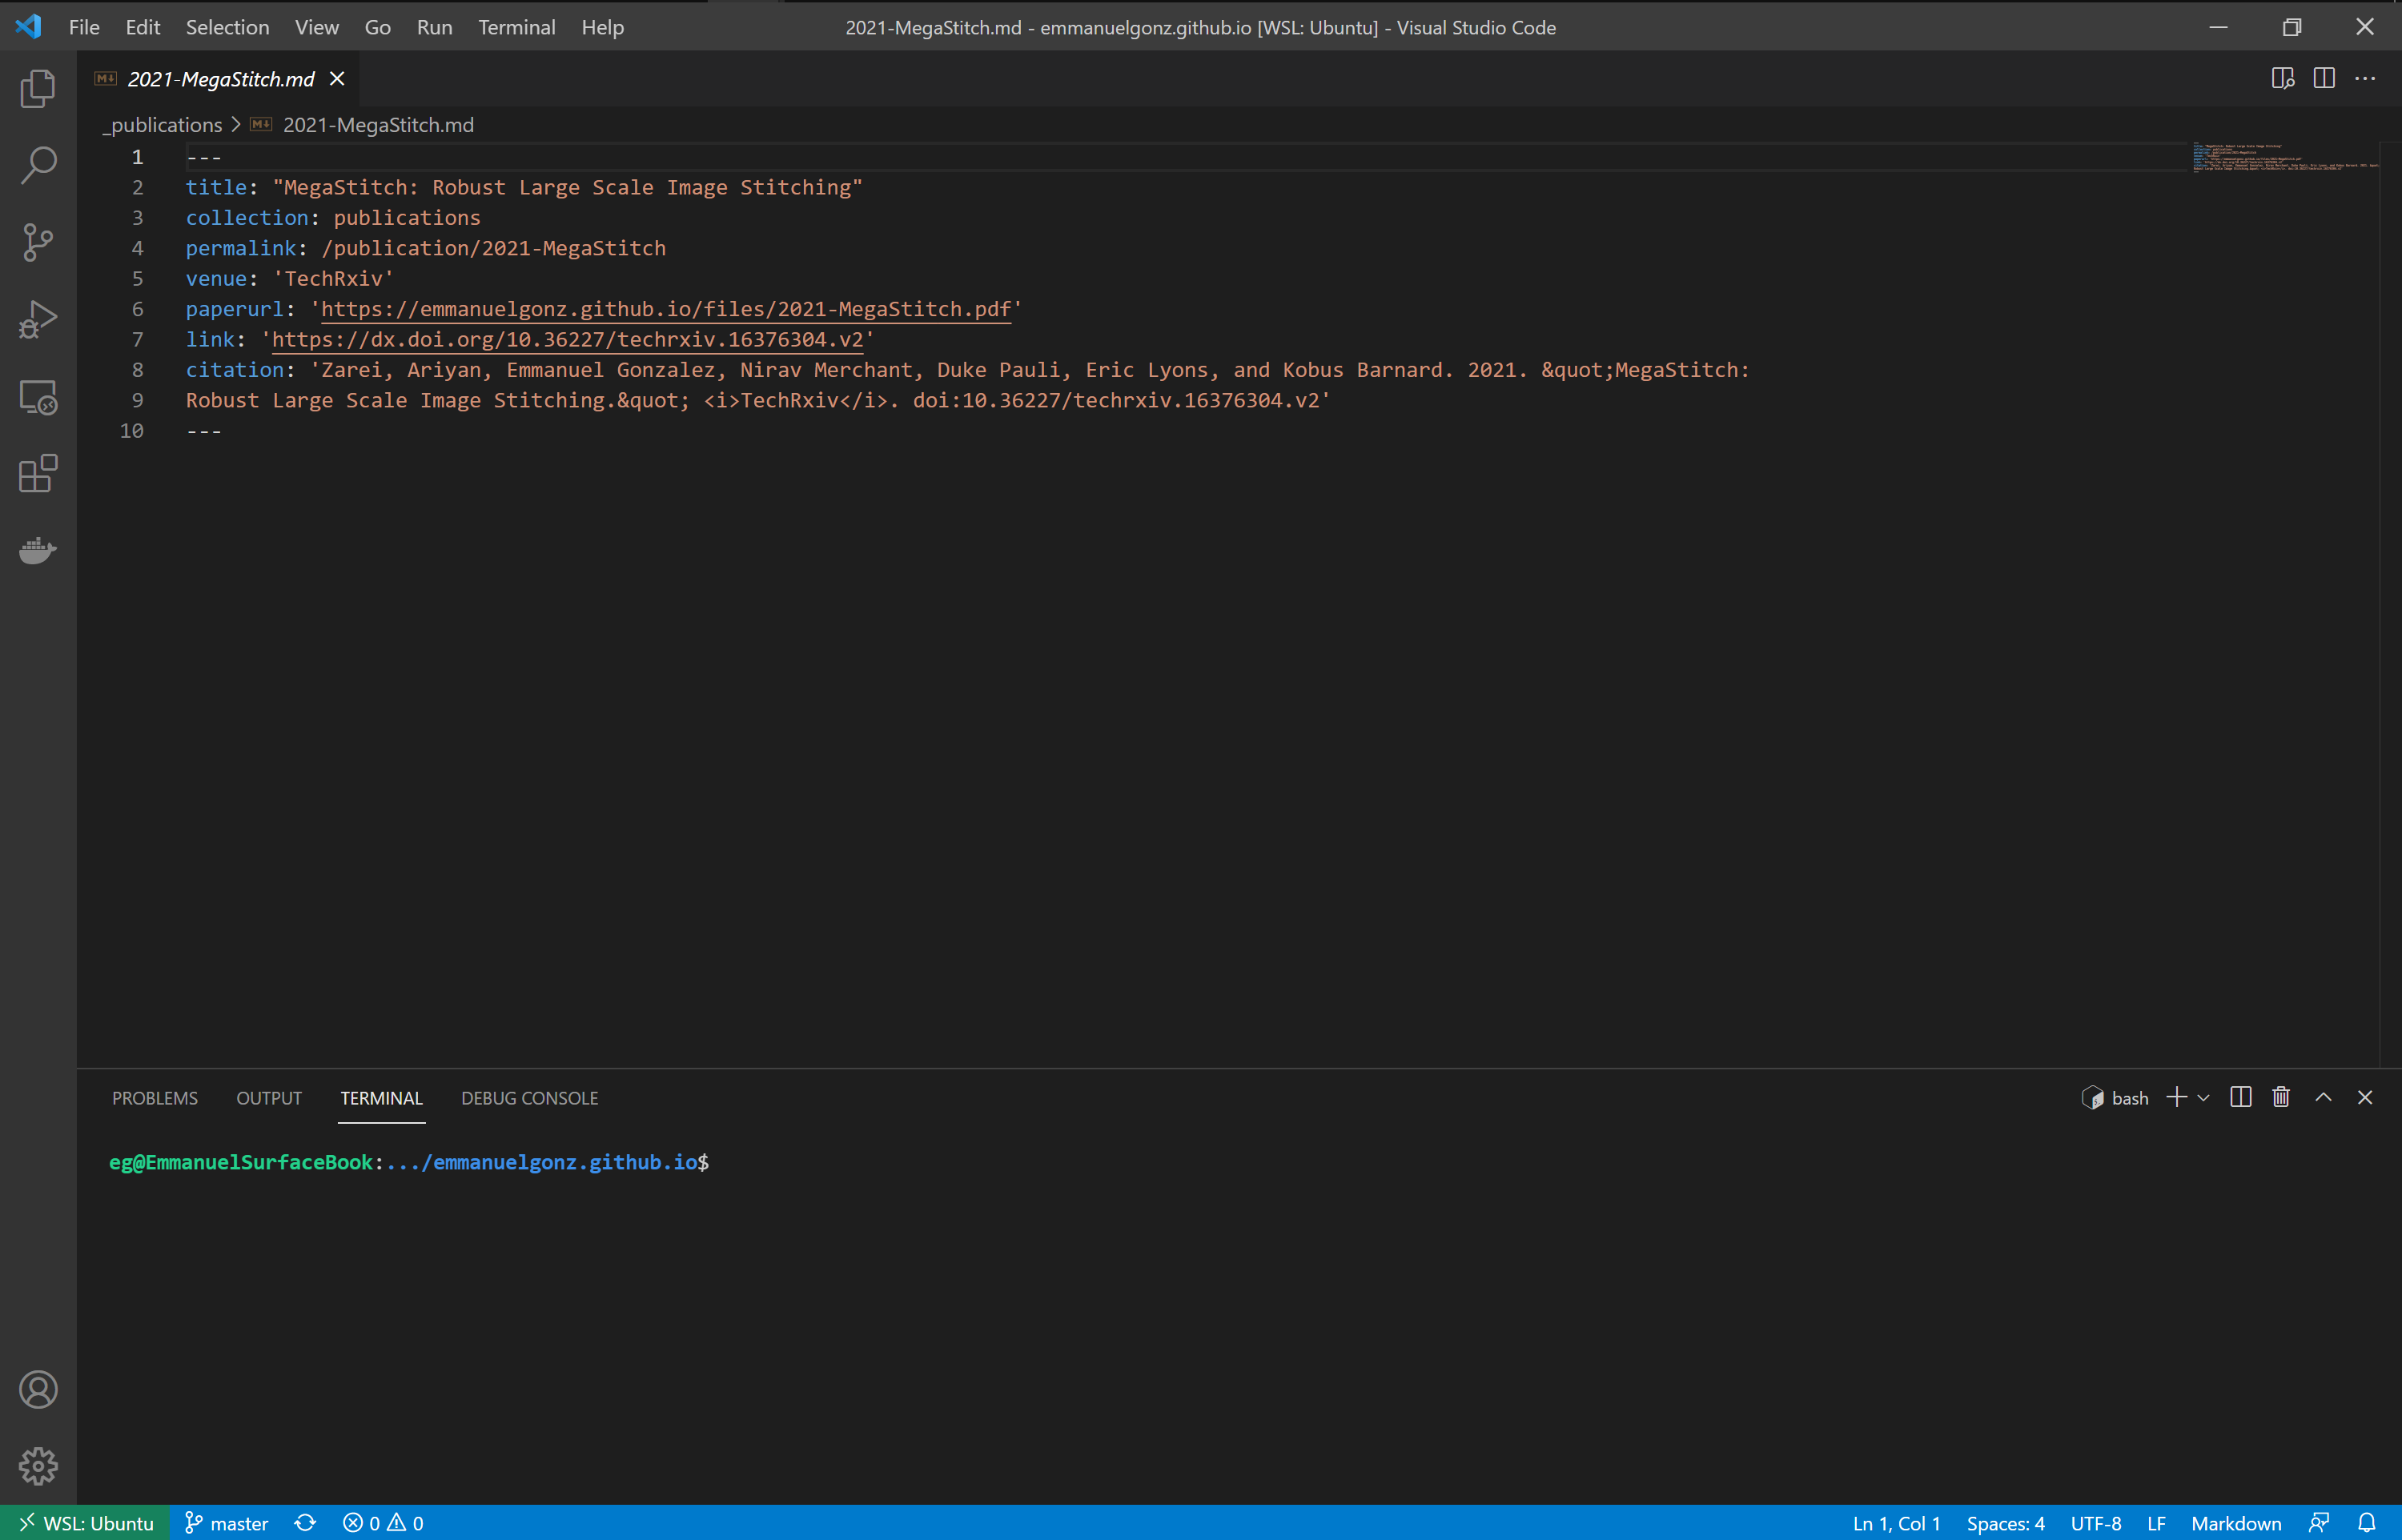
Create a new file for each publication.
Add, commit, and push your changes:
git add *git commit -m 'changes to publications'git push originNow, navigate to your website, which is accessible at
<GitHub username>.github.io
CV page
Open the Open the
_pagesdirectory and click on thecv.mdfile.Add your education, work experience, and skills. Example below:
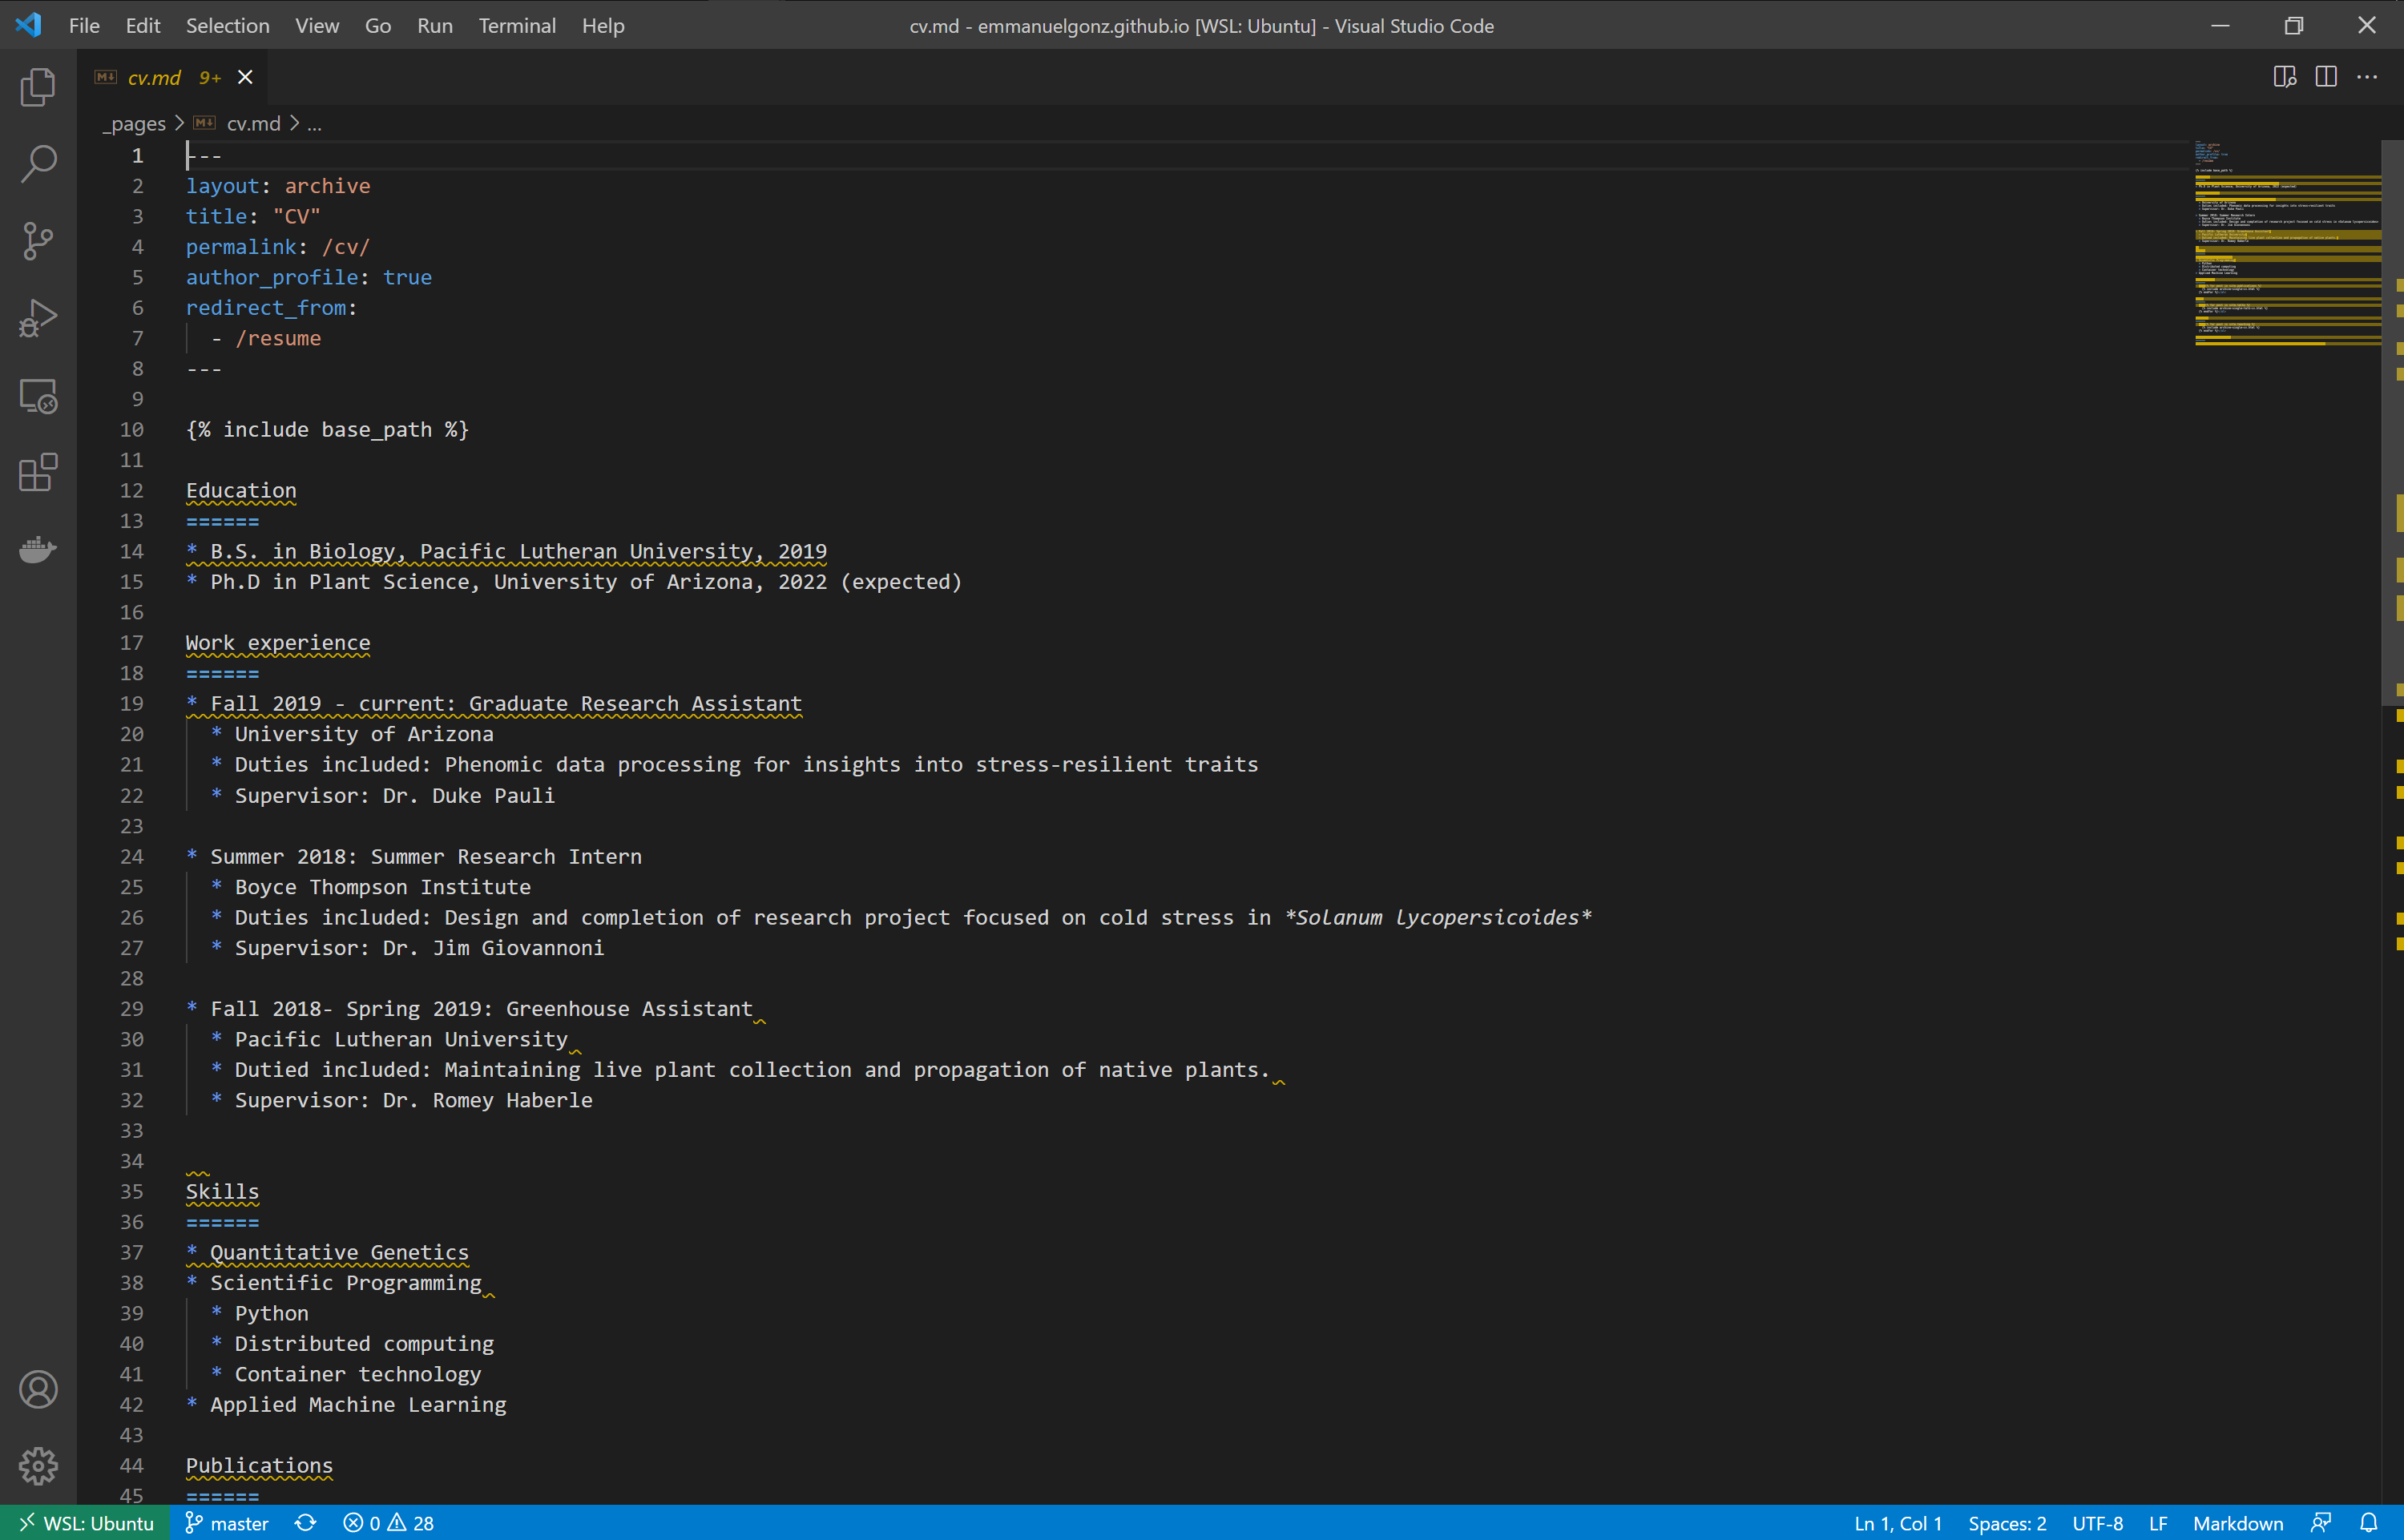
Add, commit, and push your changes:
git add *git commit -m 'changes to cv'git push originNow, navigate to your website, which is accessible at
<GitHub username>.github.io
