
Terminal, GitHub, and iRODS Essentials
Published:
Learn how to leverage the terminal for GitHub version control and Integrated Rule-Oriented Data System (iRODS) data management! This tutorial is split into three parts:
- Part A: Terminal
- Set up a Linux workspace for scientific computing.
- Part B: GitHub
- Build a website to share this with employers, network connections, etc.
- Part C: iRODS
- Set up iRODS within your terminal and upload/download data.
Tutorial requirements:
Note: We may run into errors during this workshop. Do not be discouraged, this is part of the workspace set up. It is painful at first, but once it’s over, it’s worth it!
Part A: Terminal
Your terminal will look and act differently depending on your operating system (OS). There are a variety of OSs out there including Ubuntu, Windows, Mac OS, etc. Since the majority of scientific computing is done on Linux, that will be the focus of this tutorial.
macOS & Linux users
You are ready to proceed. Just open your terminal! I strongly suggest you pay attention to the Windows Subsystem for Linux 2 (WSL 2) set up, as you may find this useful when you develop for other OSs.
Windows users
We need to download and install WSL 2. I use this as my go-to workspace, as it allows me to run my code on Linux but have my computer run Windows 10. You will have a Linux terminal running on the subsystem, but your main OS will be Windows! Isn’t that cool?
Let’s get this set up on your computer by following the steps below:
Open Powershell as Admin and run:
dism.exe /online /enable-feature /featurename:Microsoft-Windows-Subsystem-Linux /all /norestartRight-click on the Windows Start icon, click on Run, type
winver. Confirm that you meet the requirements below.WSL 2 Requirements
x64 systems: Version 1903 or higher, with Build 18362 or higher.
ARM64 systems: Version 2004 or higher, with Build 19041 or higher.
Enable the Virtual Machine feature by running:
dism.exe /online /enable-feature /featurename:VirtualMachinePlatform /all /norestartDownload and install the Linux kernel update by clicking here.
Note: If you get an error during the Linux kernel installation, restart your computer and retry Step #5.
Go back to your admin Powershell window and set WSL 2 as your default WSL version by running:
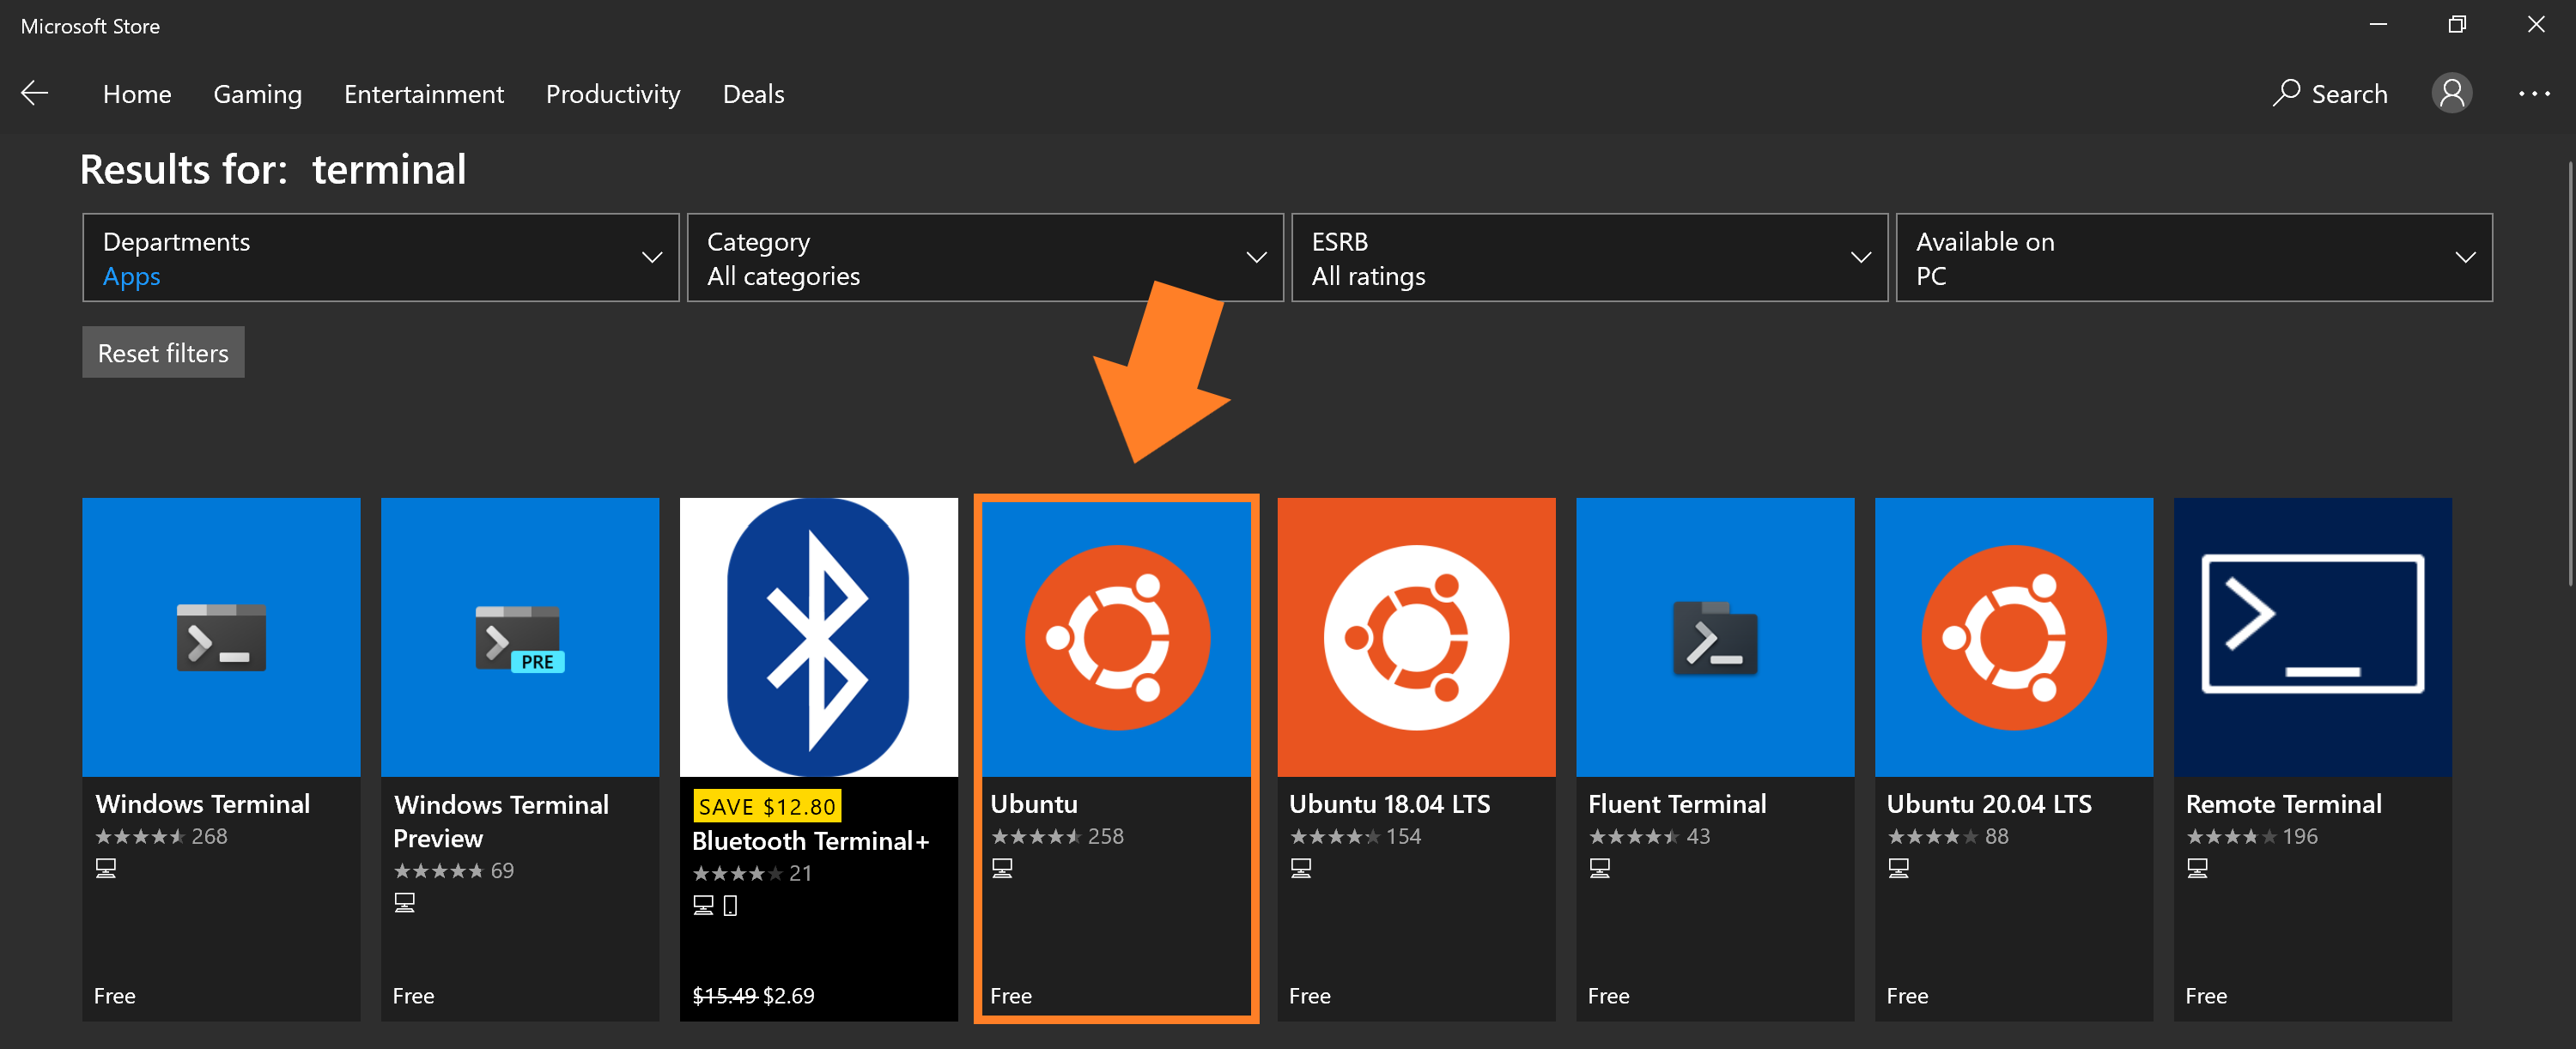
wsl --set-default-version 2Open the Windows Store and download Ubuntu.
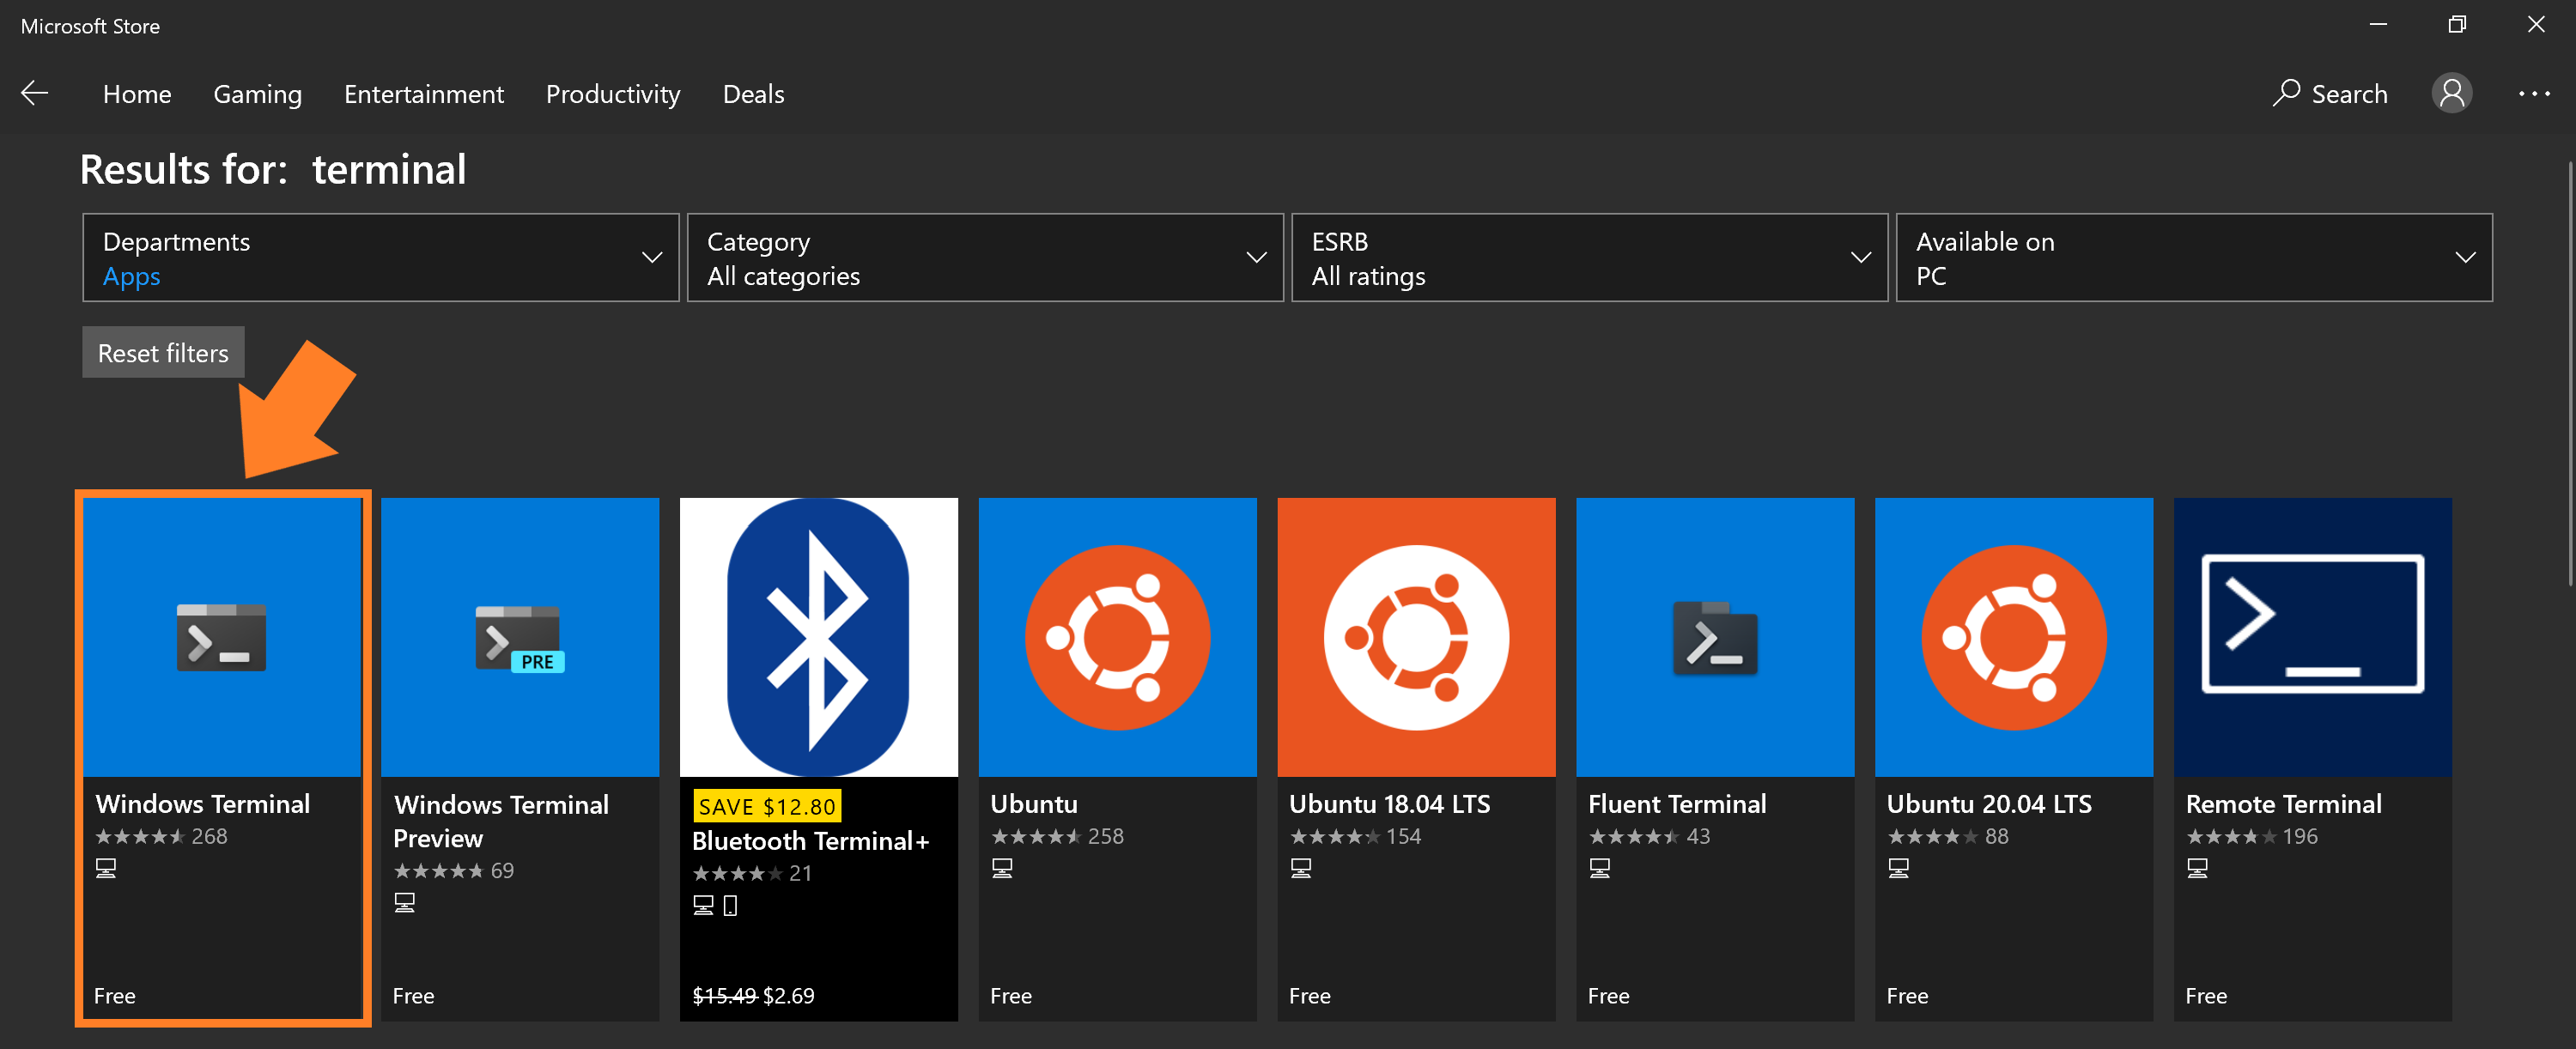
Download the Windows Terminal app.
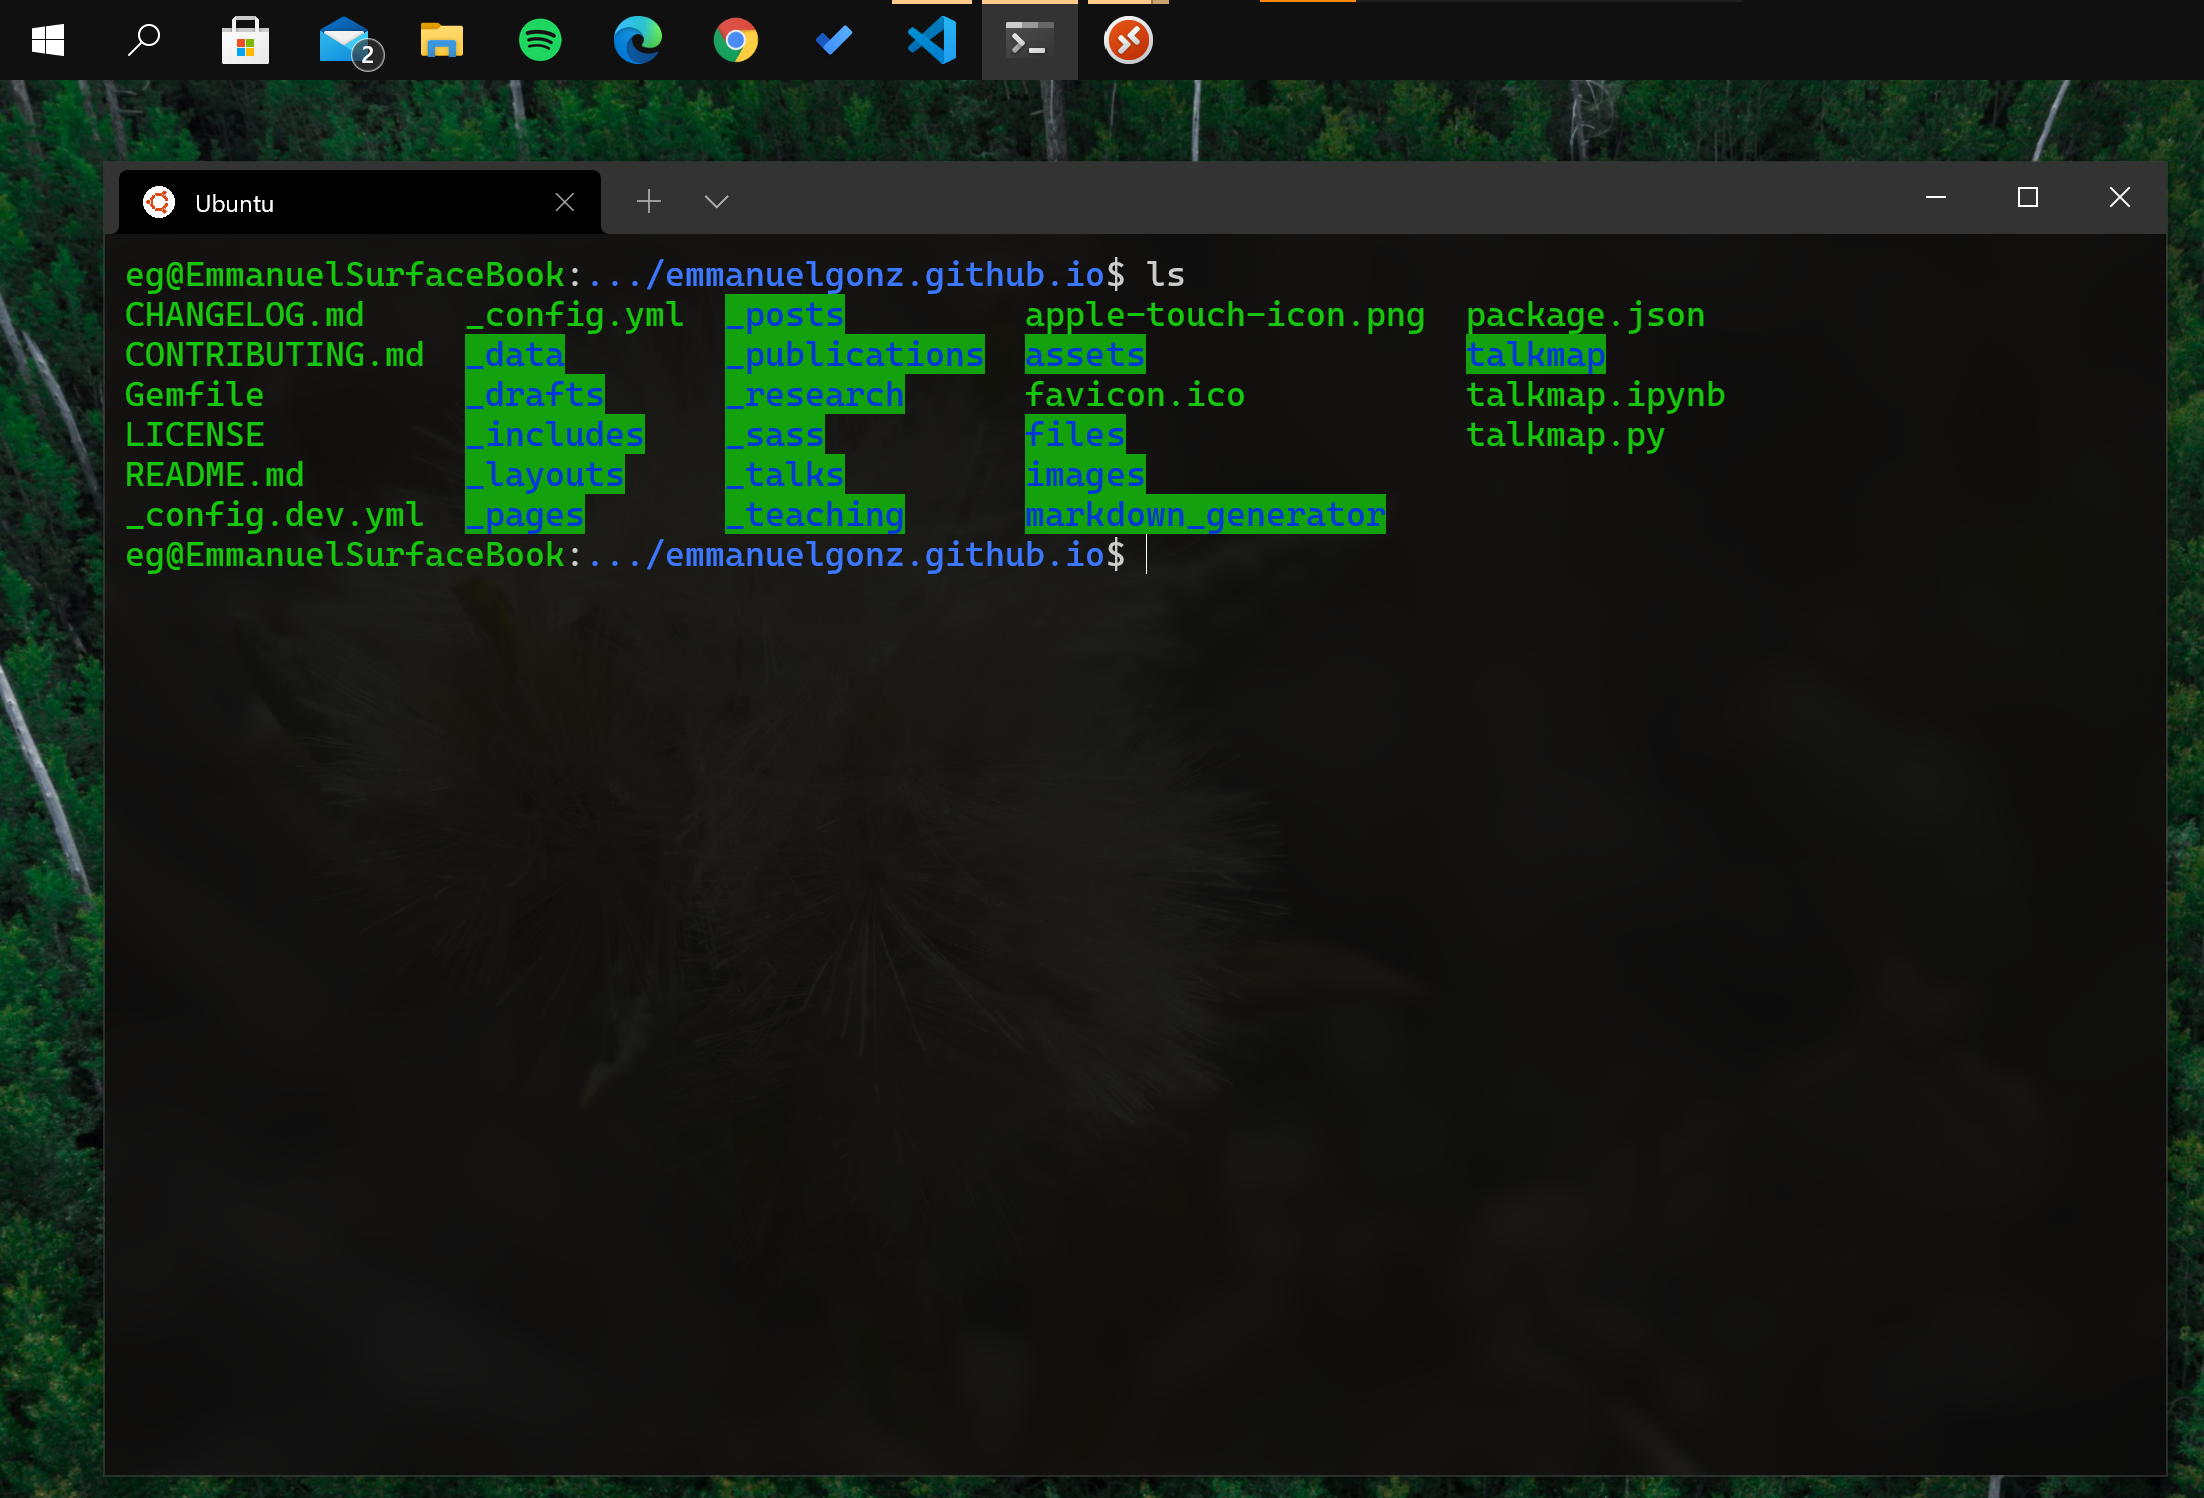
Open the Windows Terminal app. You are now ready to go! You will be asked to create a username and password.
Part B: GitHub
Setting up SSH keys
We need to set up an SSH key to easily push changes to your repos.
On your terminal, run and click enter for all prompts:
ssh-keygenPrint and copy contents of the file:
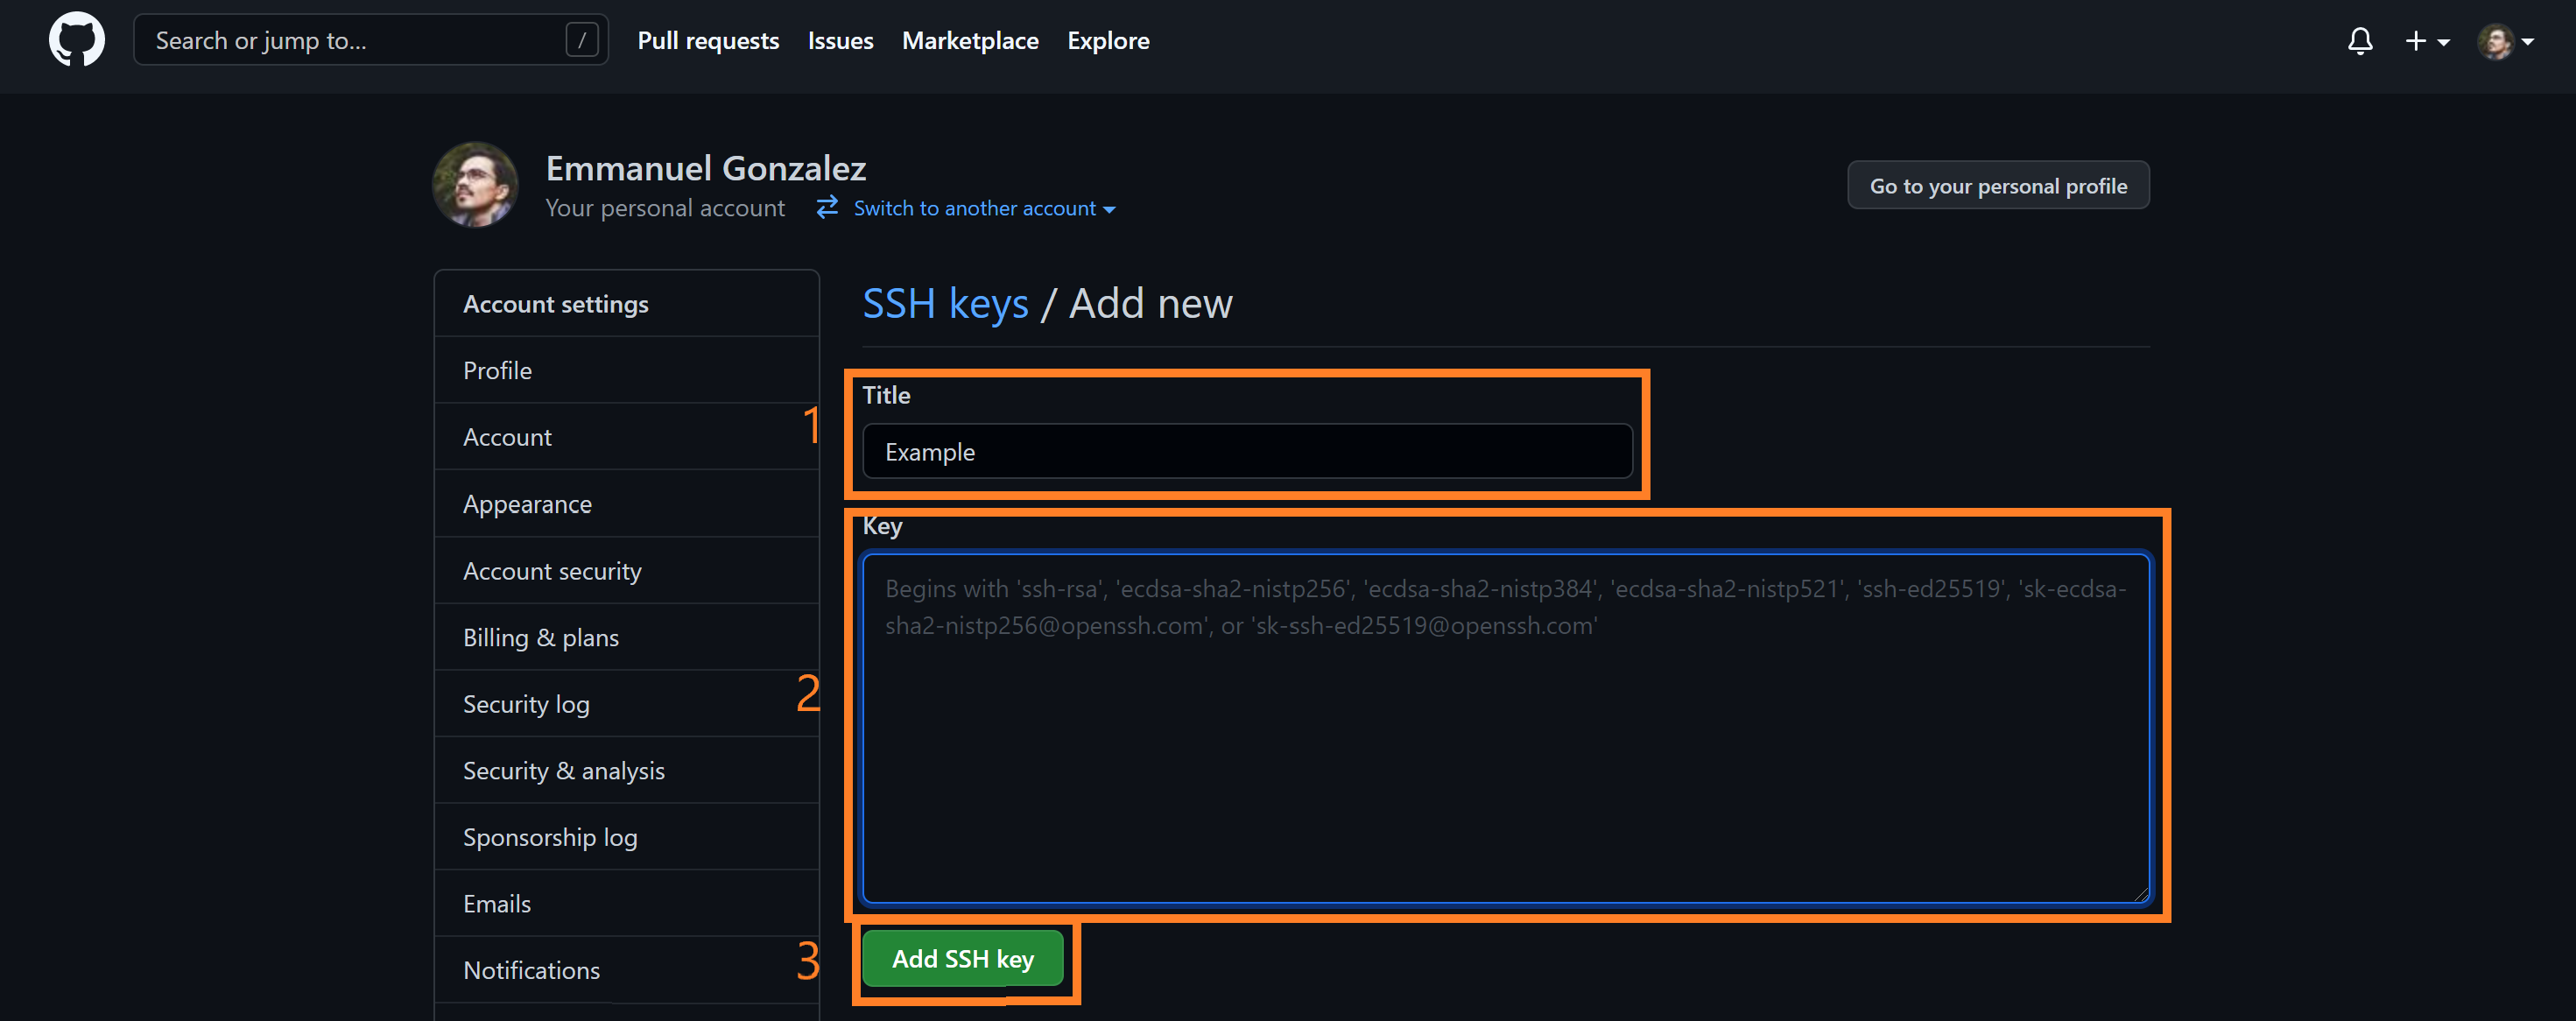
cat ~/.ssh/id_rsa.pubOpen GitHub, click on your Profile Picture > Settings > SSH and GPG keys > New SSH Key.
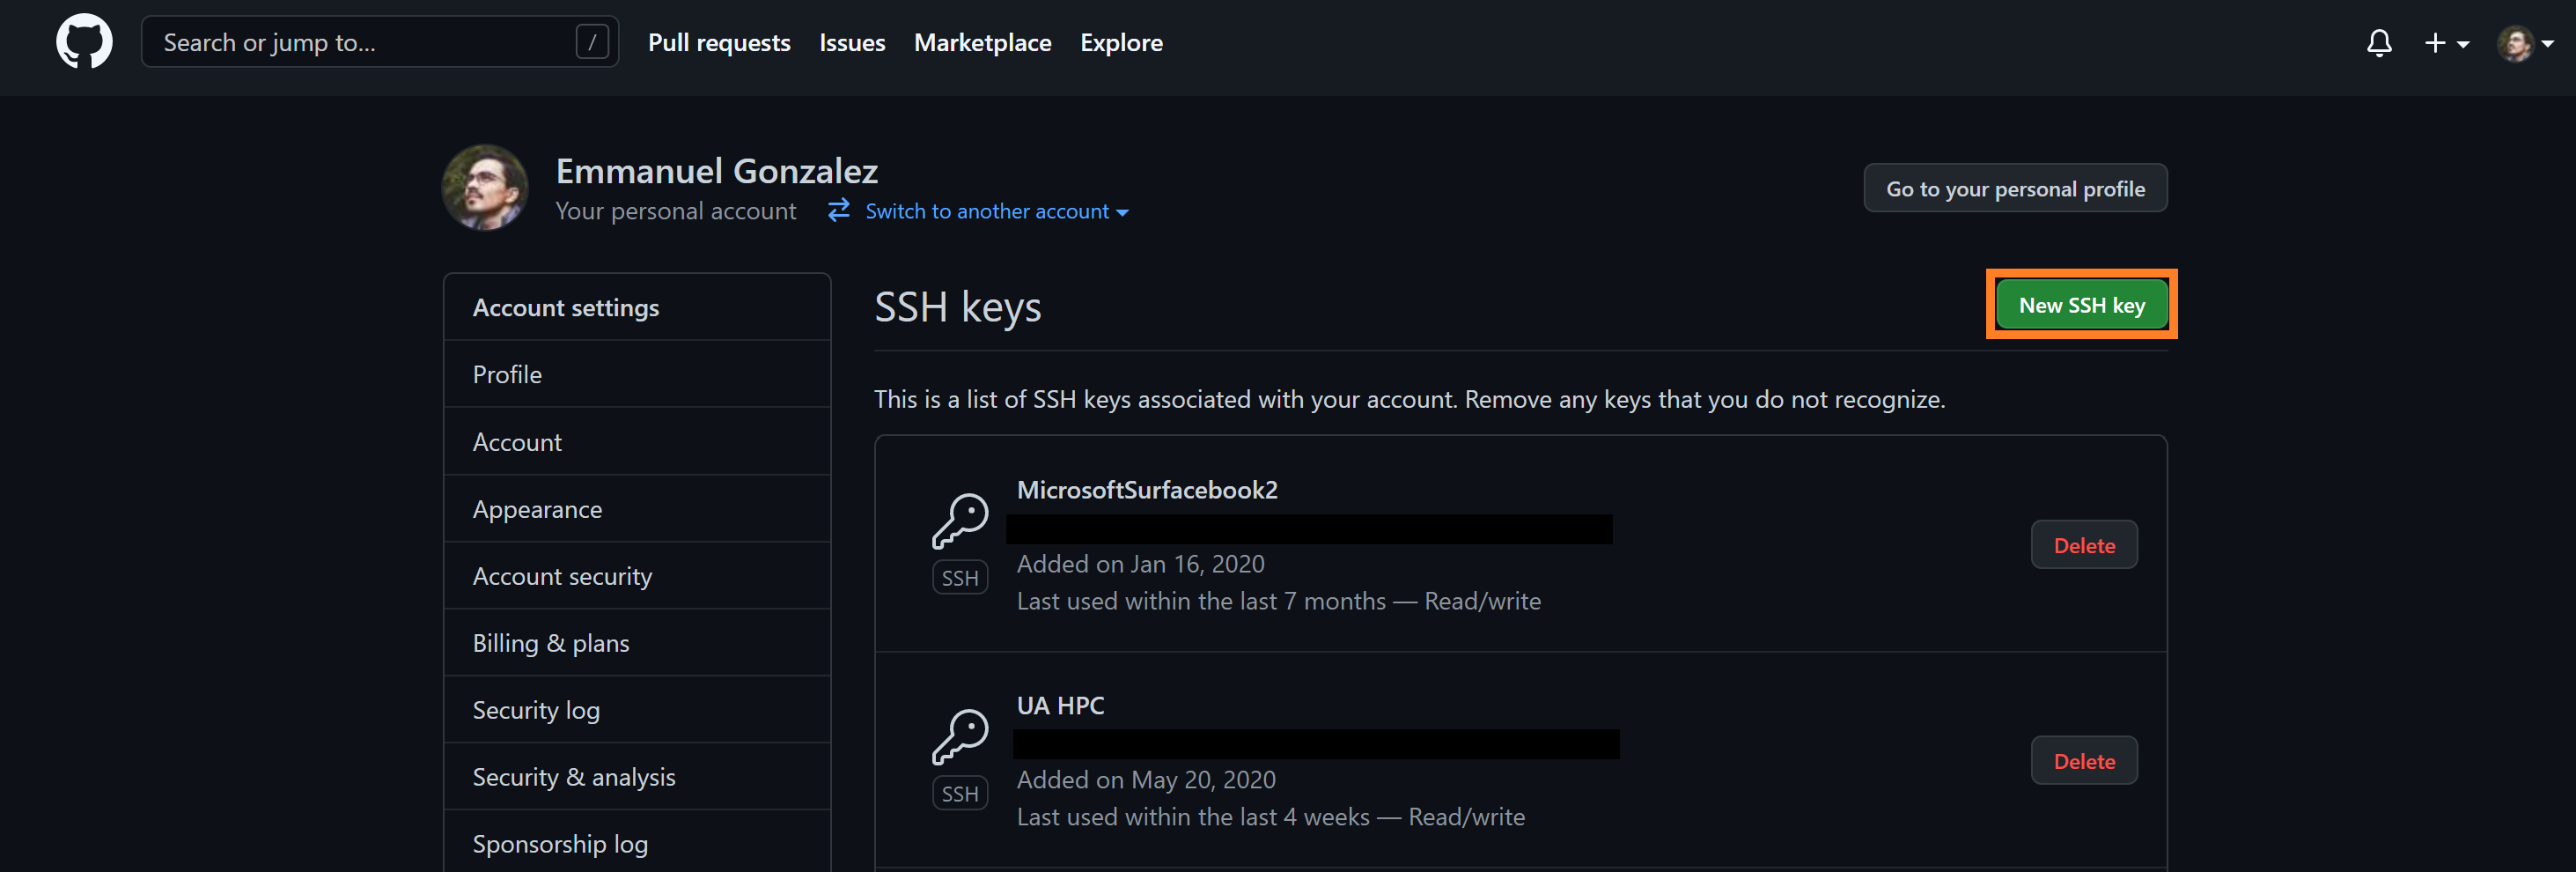
Paste the contents of your file which you previously copied into the Key field, add a descriptive title, and click “Add SSH Key”.
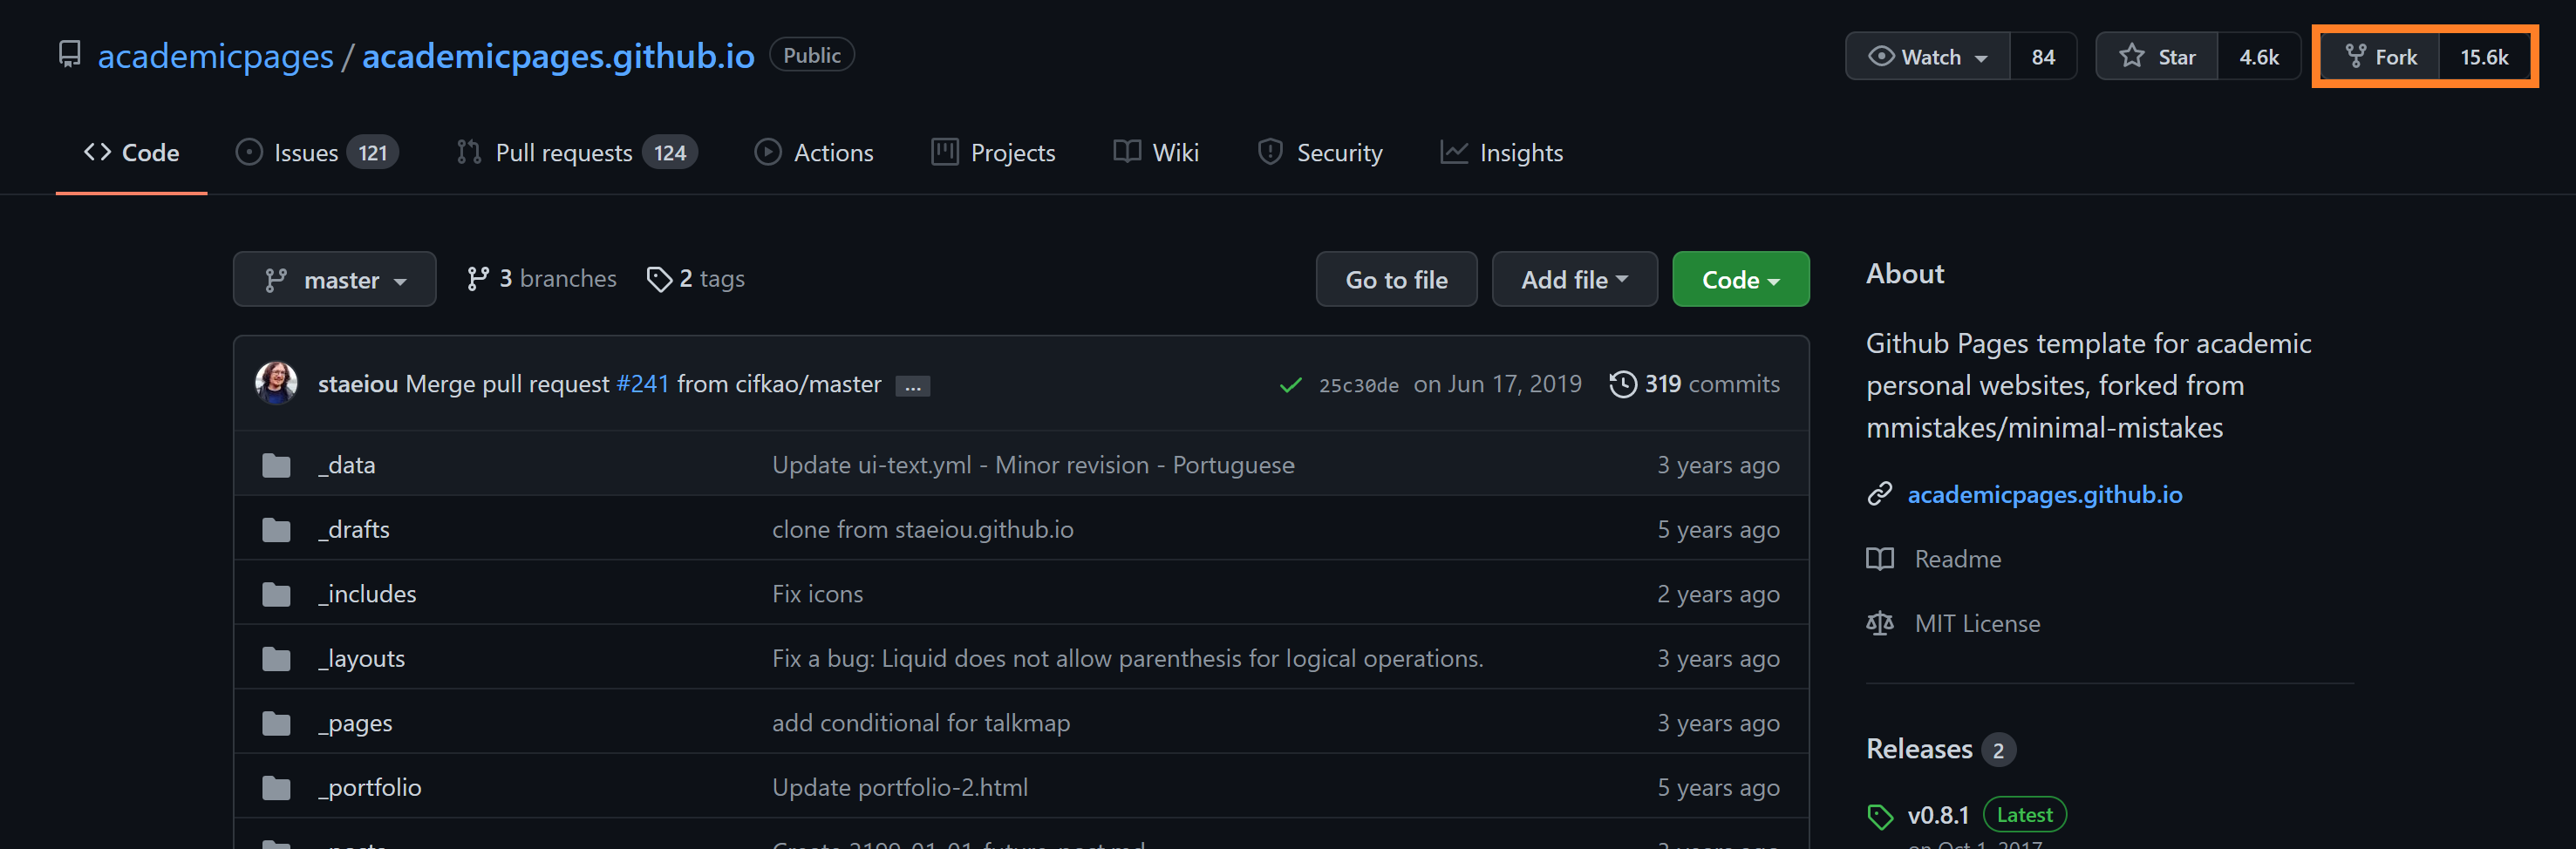
Fork & clone a repo
Fork the Academic Pages repo.
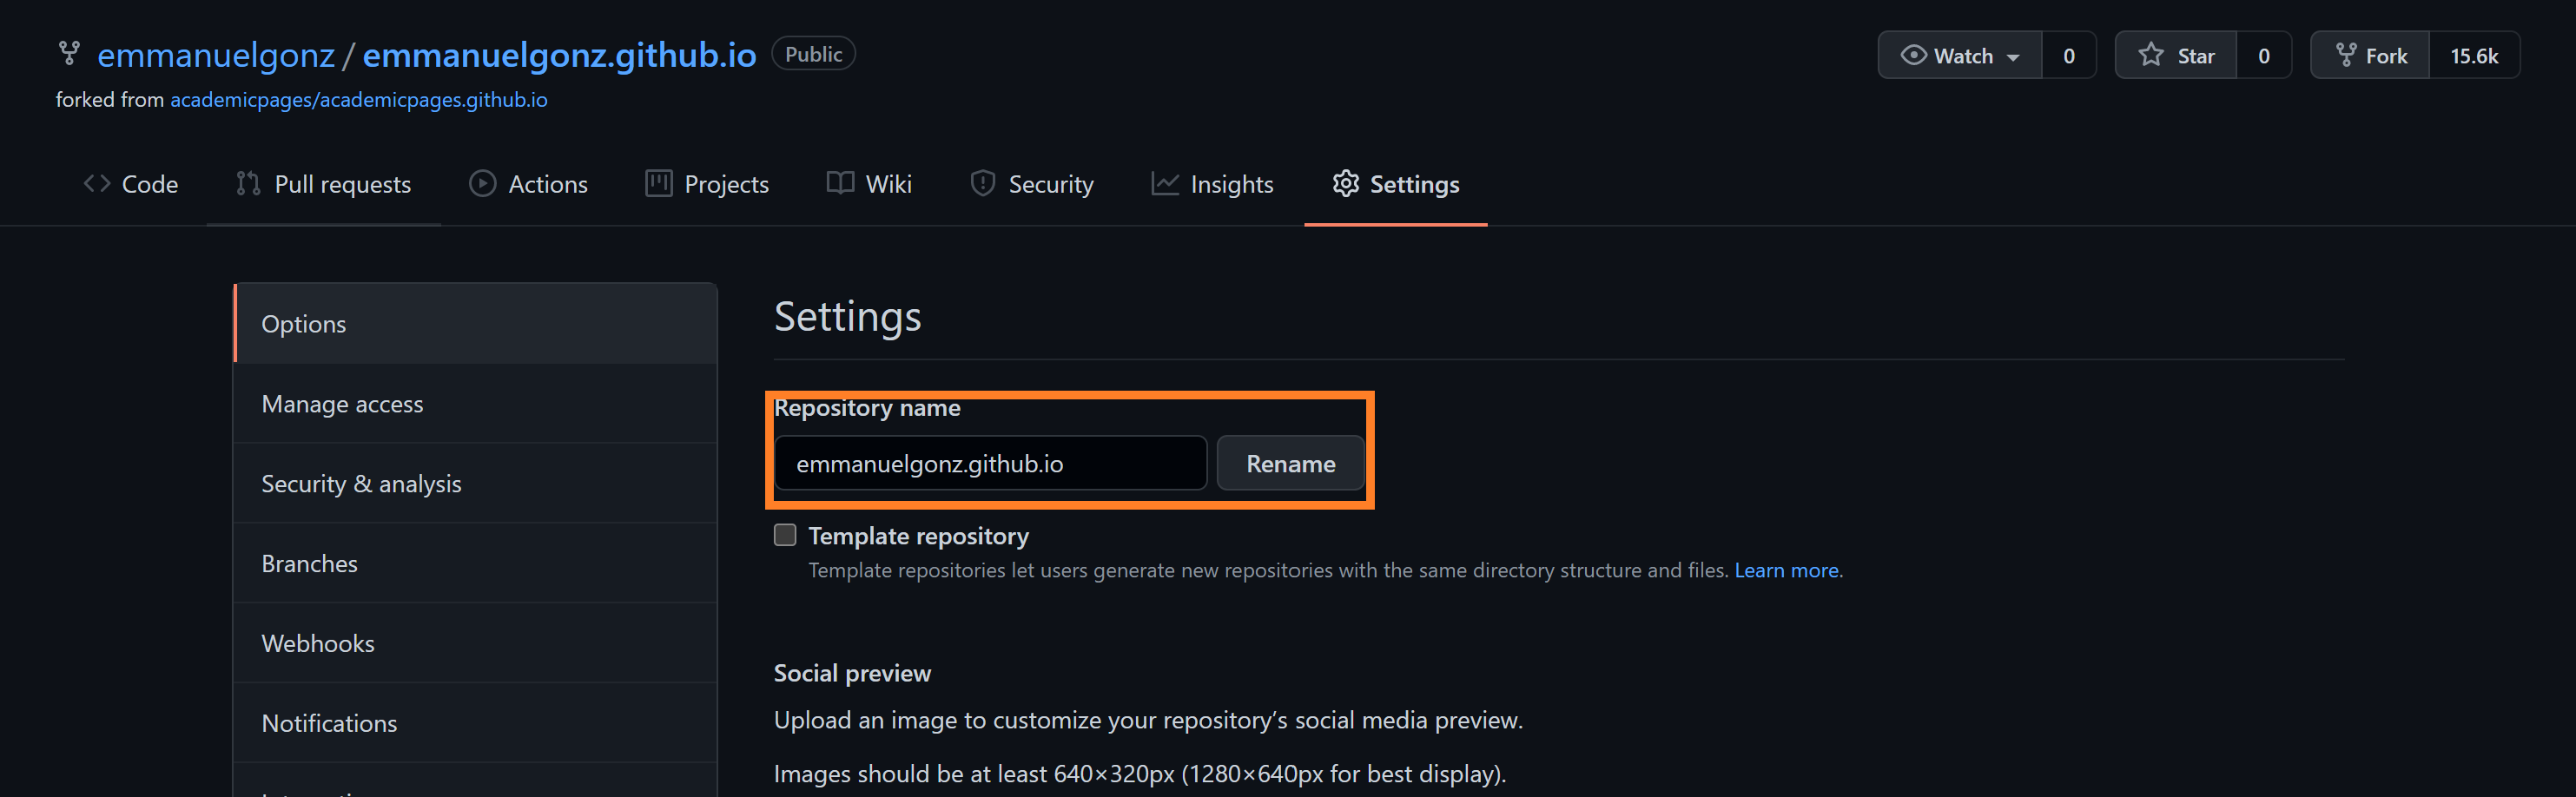
Rename the repo to your GitHub username:
Click on the green “Code” button and copy the link to clone your own repo.
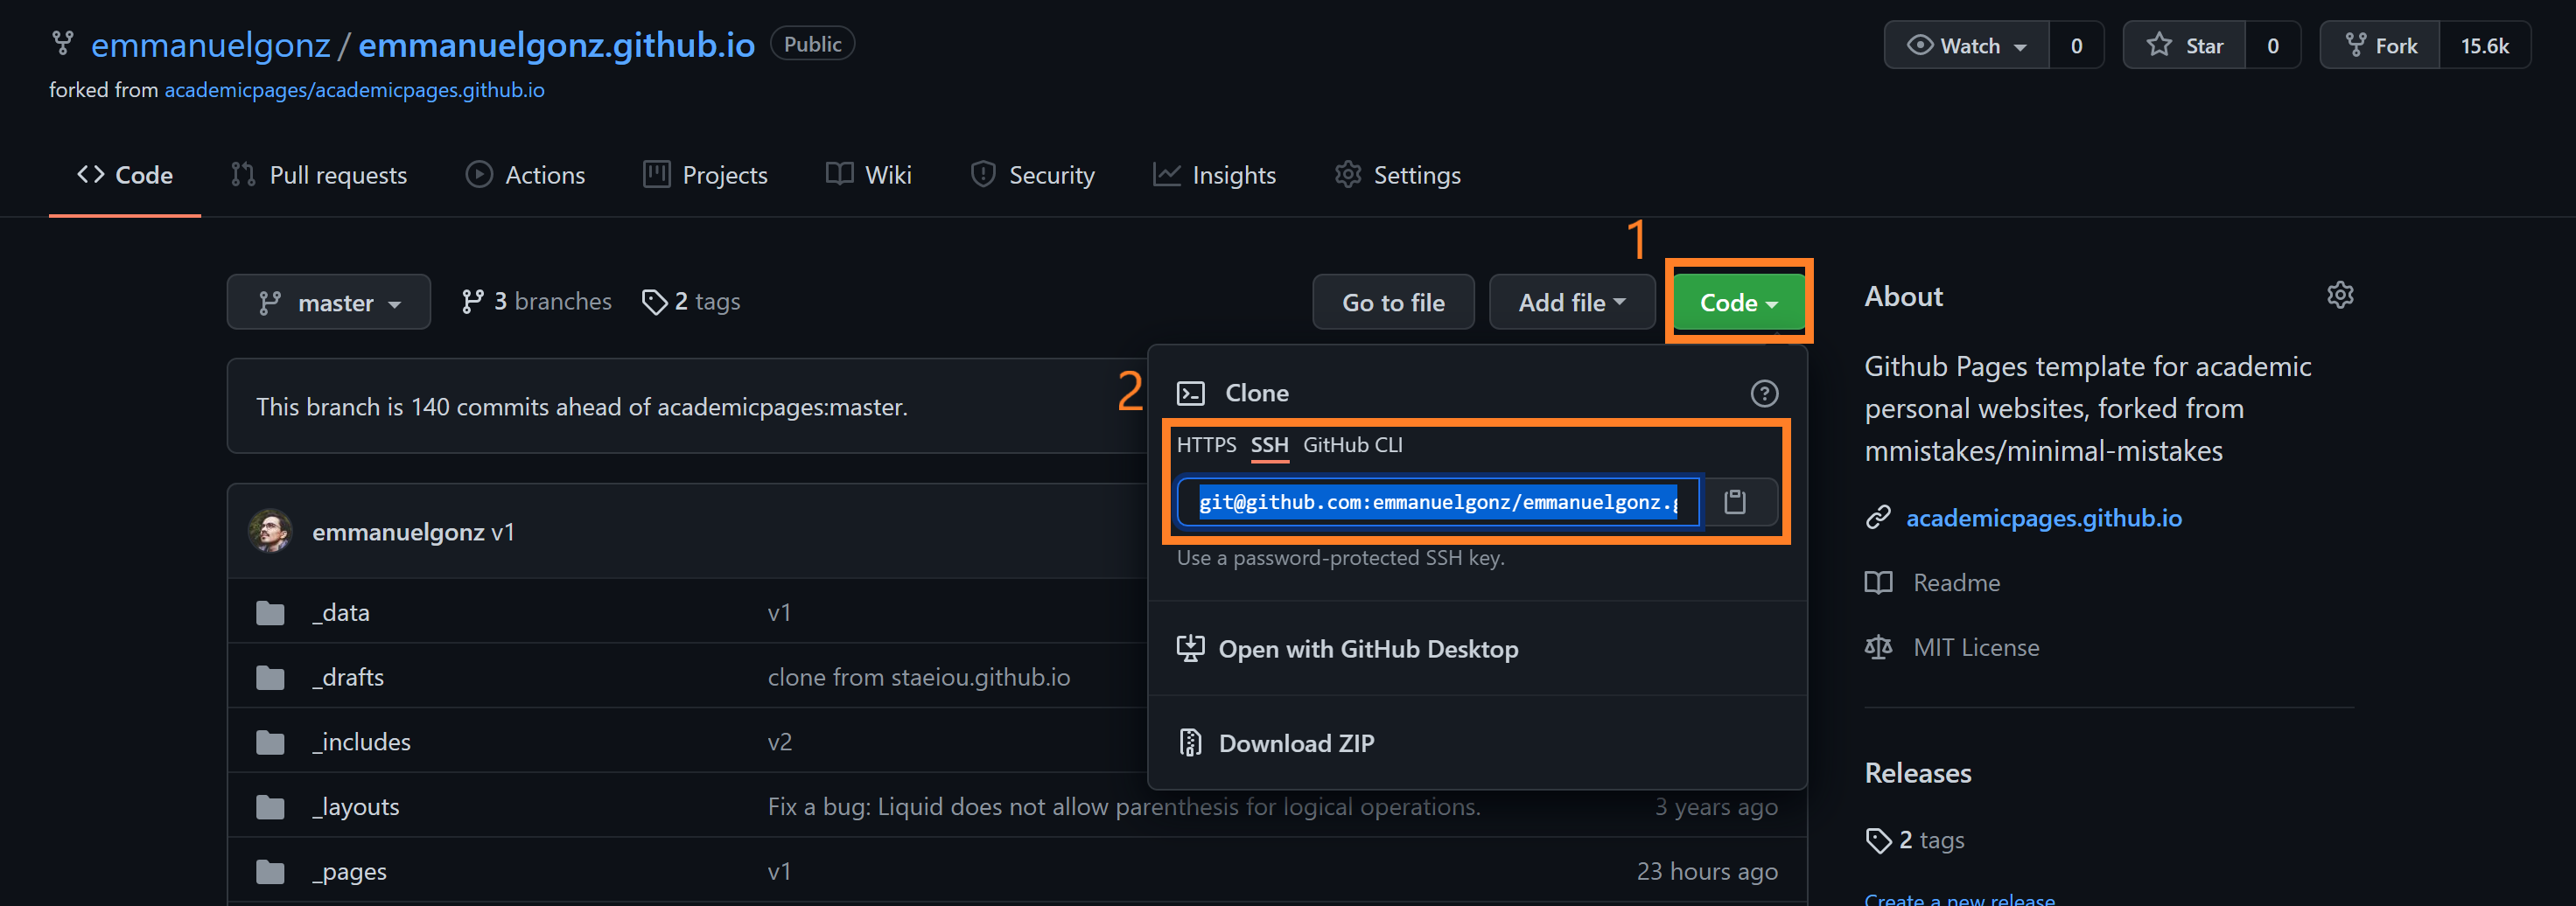
On your terminal, run:
git clone <insert link here>
Part C: iRODS Data Management
macOS users
- Download the macOS installer here.
- Follow the installation steps.
On your terminal, run:
iinitFill in the prompts with:
Host name Port # Username Zone Password data.cyverse.org 1247 CyVerse User ID iplant CyVerse password - You’re now ready to start downloading some data!
WSL 2 & Linux users
Download the iRODS installation shell script and give it executable permissions:
wget https://raw.githubusercontent.com/emmanuelgonz/emmanuelgonz.github.io/master/files/install_irods_copy.sh && chmod 755 install_irods_copy.shRun the installation script:
sudo ./install_irods_copy.shLog in to iRODS:
iinitFill in the prompts with:
Host name Port # Username zone Password data.cyverse.org 1247 CyVerse User ID iplant CyVerse password You’re ready to start downloading some data! Let’s continue our tutorial here.
Resources
For details on the vim editor, run the following:
vimtutor